
The diamond painting essentials: a comprehensive guide
Diamond painting, the artistic pursuit that requires a select set of tools, emerges as a craft where minimalism resonates.
With a canvas, gemstones, a receptacle, stylus, and adhesive at your disposal, you are poised to ingeniously produce a masterpiece of your fancy.
Yet, for the bona fide enthusiast of this creative venture who invests considerable hours in their artistry, it becomes evident that paramount importance is vested in the ultimate caliber of their opus.
Consequently, we embark on an exploration of the multifaceted utility intrinsic to these instruments, as well as an exposition of supplementary accouterments indispensable to the complete immersion in the realm of diamond painting.
Enumeration of implementations
We have undertaken the task of cataloging the full spectrum of paraphernalia integral to the journey of a diamond artisan.
Irrespective of whether one assumes the role of an apprentice or an adept embroiderer, the domain of diamond painting demands temporal dedication and deft manipulation.
Hence, the arsenal of augmentative implements poised to enhance your artistic pursuit is an imperative consideration.
With this contemplation in mind, we embark on an odyssey through the enchanting domain of diamond embroidery. Assuredly, enthusiasm guides our course. Onward, then!
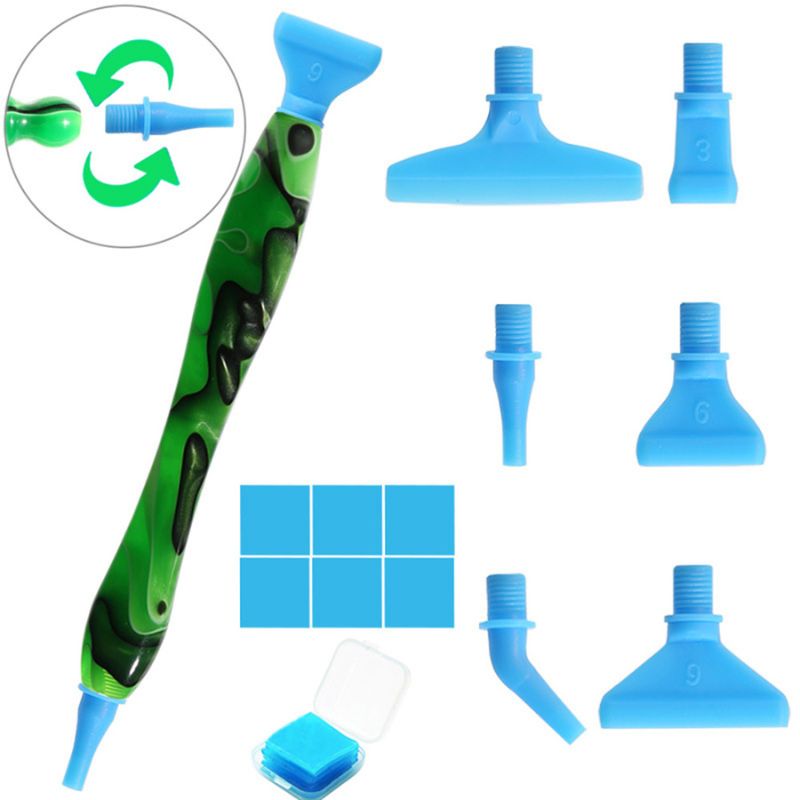
Which pen for diamond painting
Generally double-ended, the special diamond painting pen can be straight or curved, luminous, made of plastic or metal, with one end for catching one or more diamonds, thin, thick, with foam finger guards...
The wider the tip, the more diamonds you'll stick.
Discover the advantages of the multi-point stylus.
Very practical for large surfaces, because it makes filling them quicker and easier. On the other hand, for areas where there are fewer diamonds of the same colour, it's better to use a smaller tip.
Your installation will be easier and more precise.
There are also styli that sharpen like a pencil and catch the diamond.
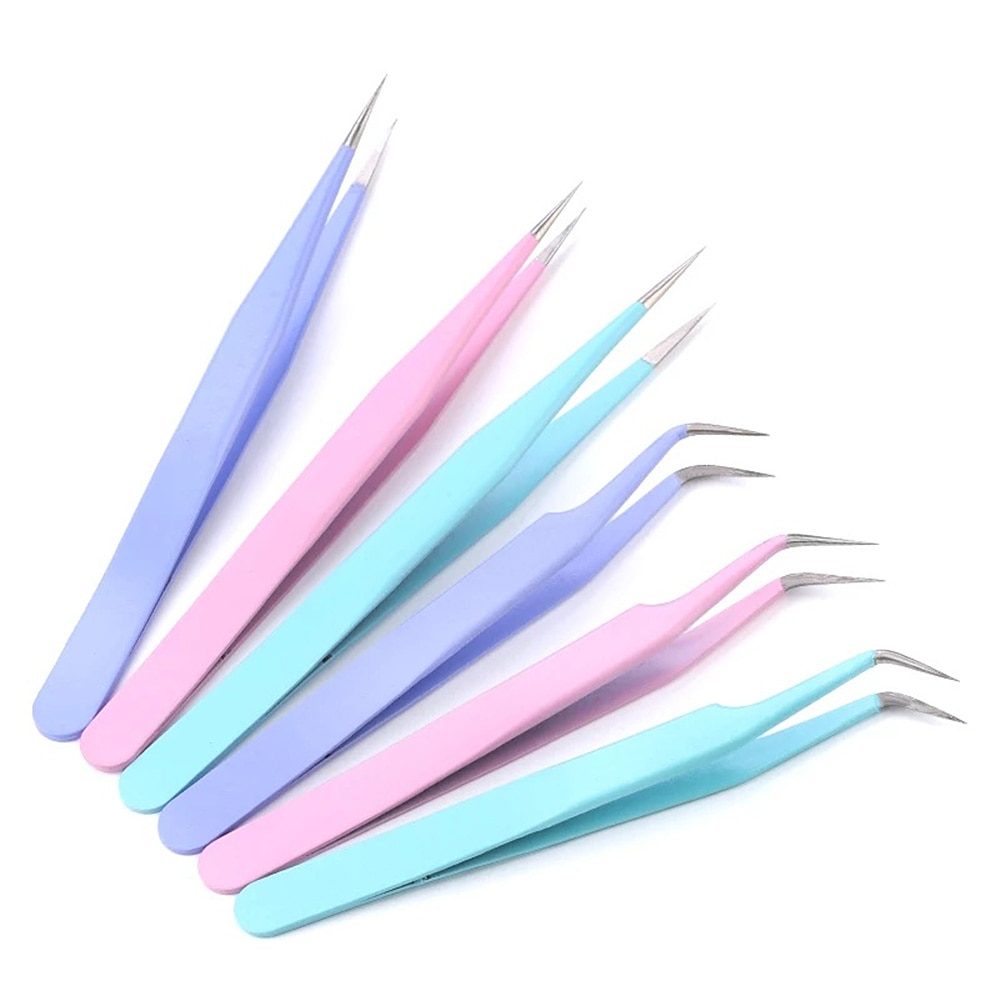
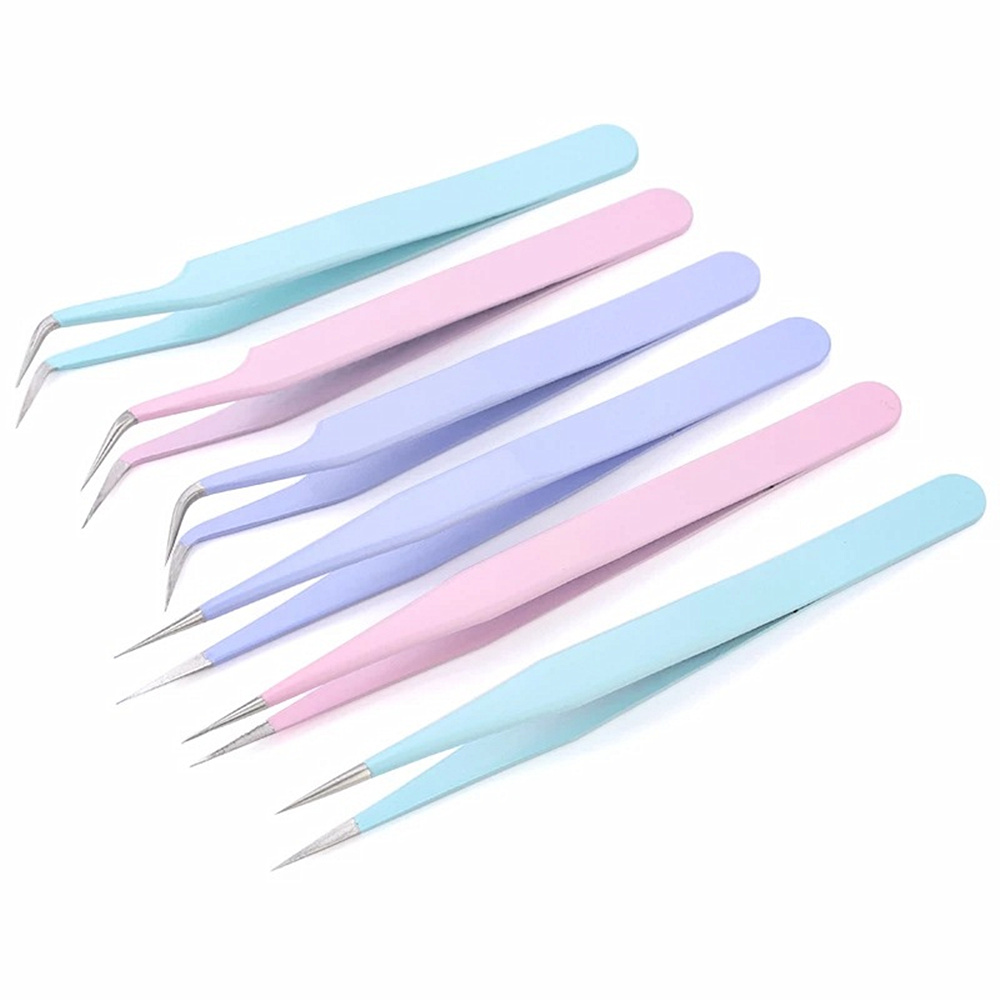

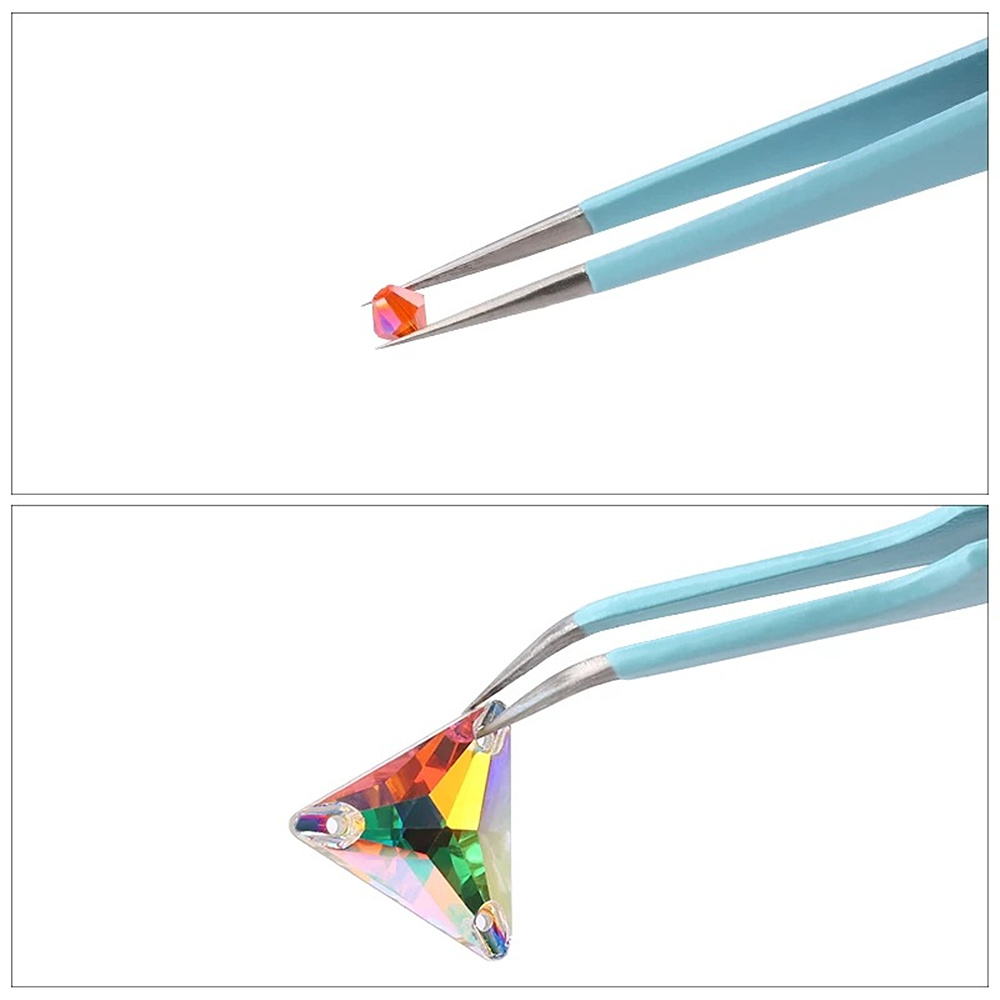

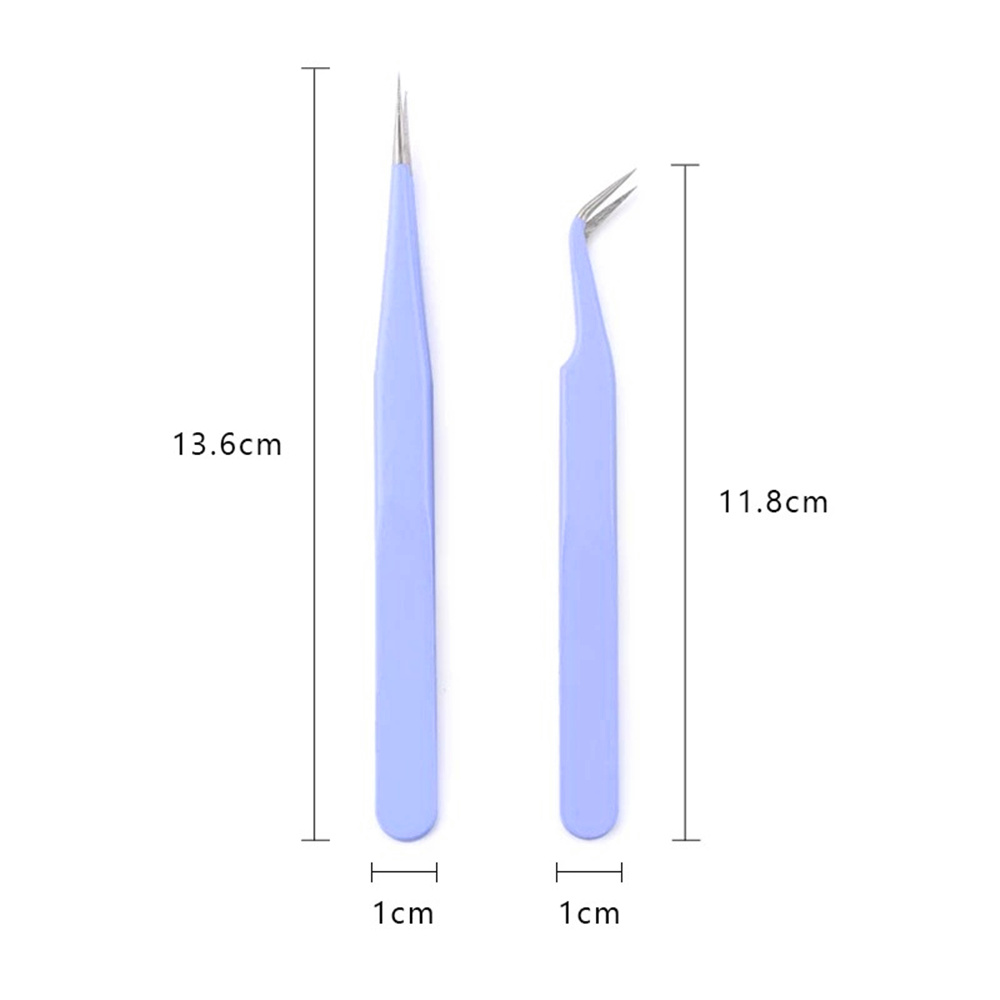
The clamp
It serves the same purpose as a stylus, albeit without adhesive.
You can employ it for the placement of one or multiple diamonds, and it proves invaluable for the removal or repositioning of said diamonds.
This tool stands particularly effective in the case of square diamonds.
It may either be straight or curved.
Tip:
In the event of an erroneous placement, a clamp's assistance will prove highly advantageous for diamond extraction. However, take care not to mar the canvas!
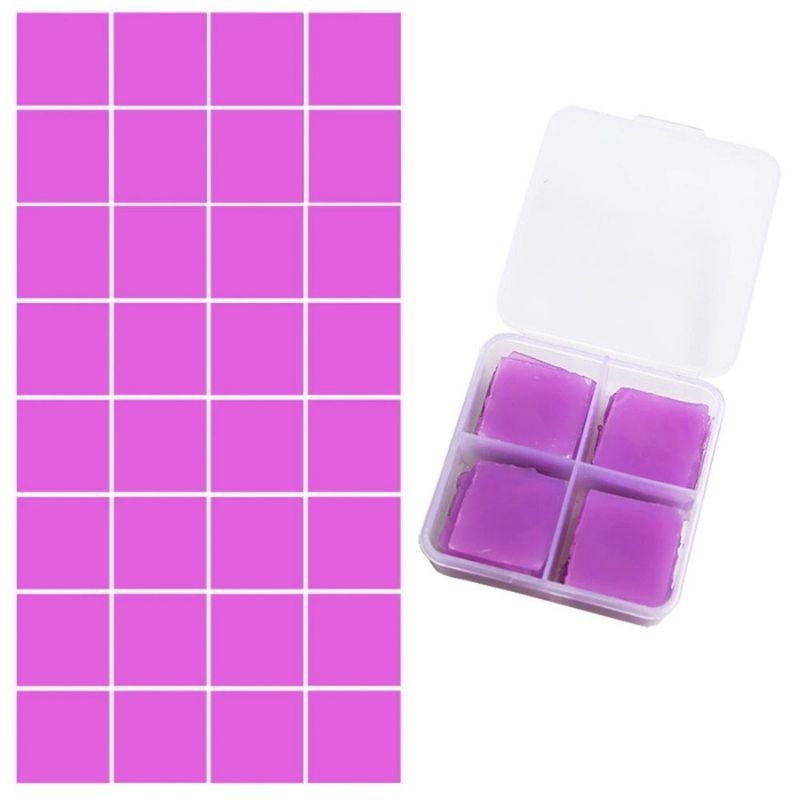
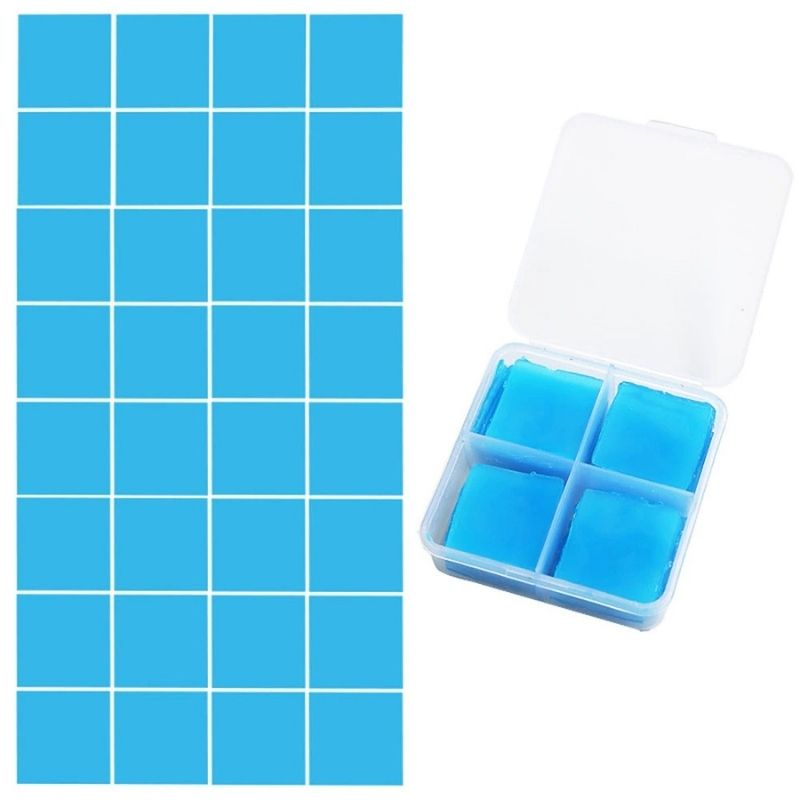
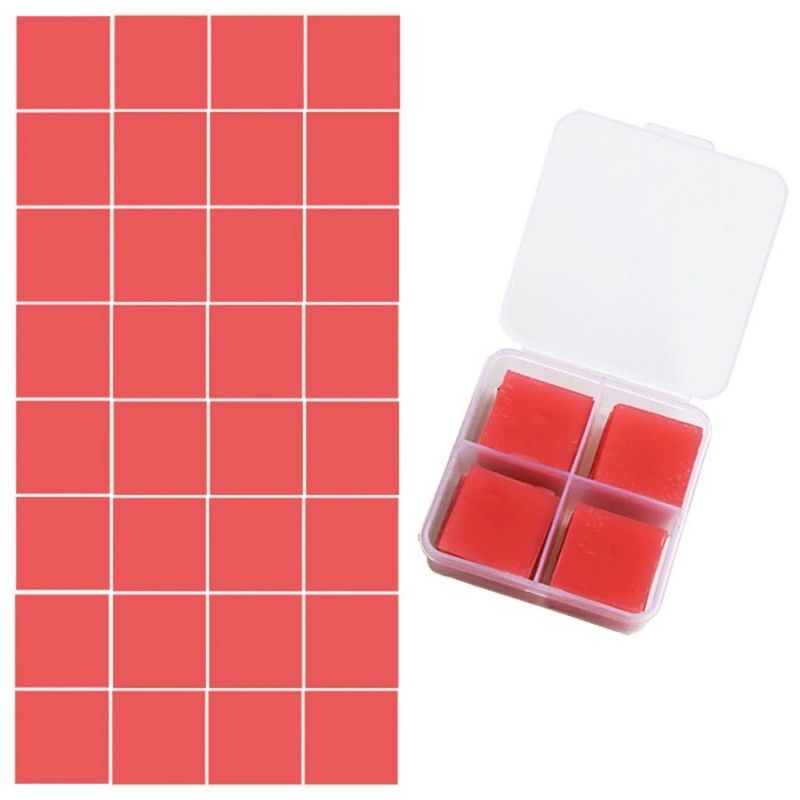
How to use diamond painting wax
You'll need this to make embroidery in any shape, whether it's on a wax plate or in a jar.
The principle is simple: press the stylus on it and the glue will be inserted into the chosen tip. All you have to do is stick it onto the diamonds and stick them onto the canvas.
Tip:
Have you run out of glue? Replace it with Patafix! You can find it in any shop, it's cheap and lasts a long time!
Don't forget to cover the tip of the stylus with cellophane when you stop embroidering; this will last for at least a week.
A thorough knowledge of accessories and tools will enable you to complete your diamond painting quickly.
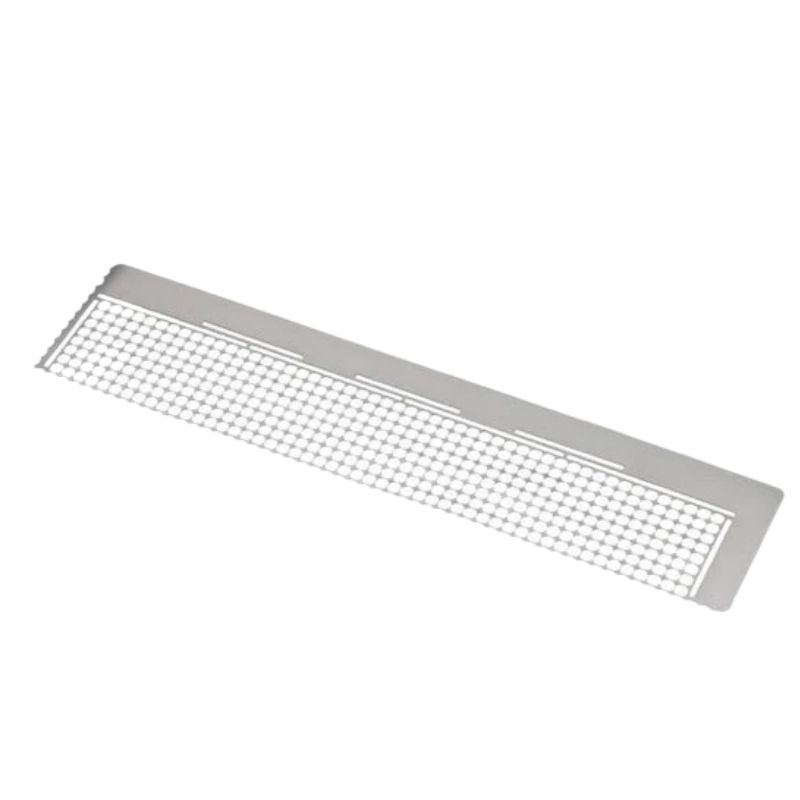

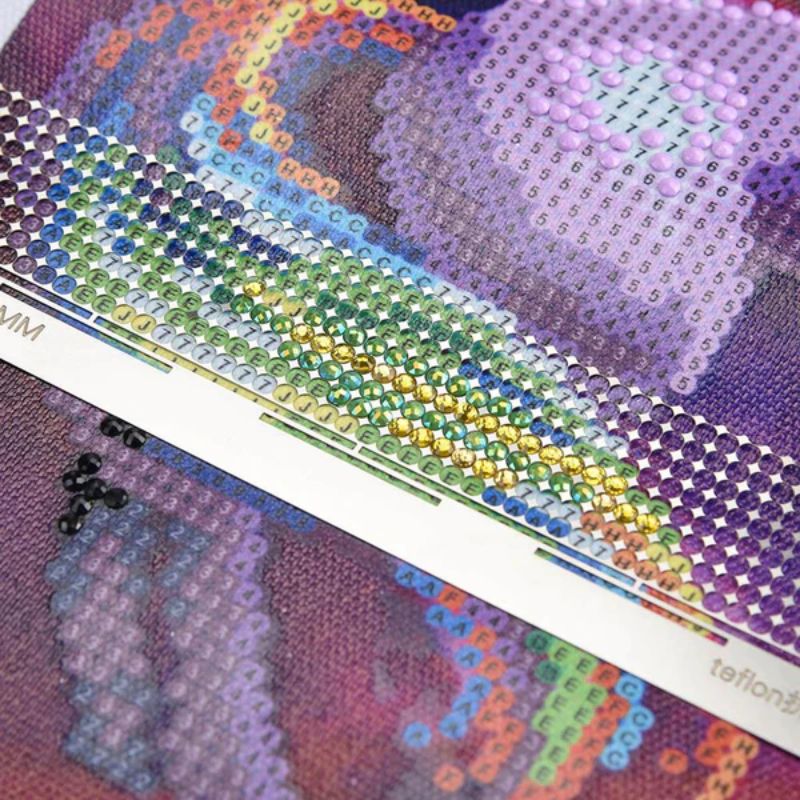
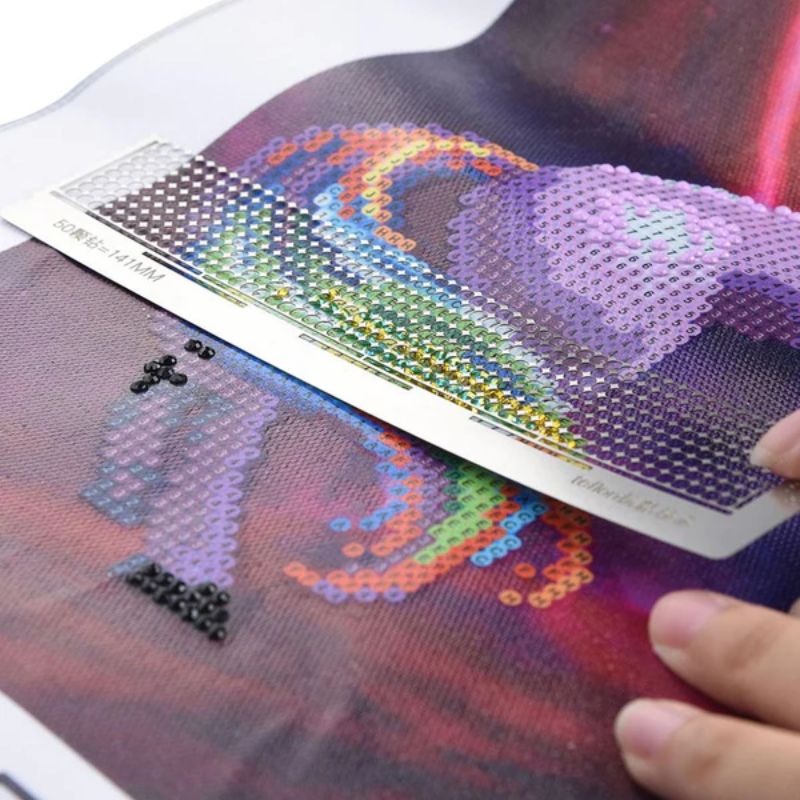
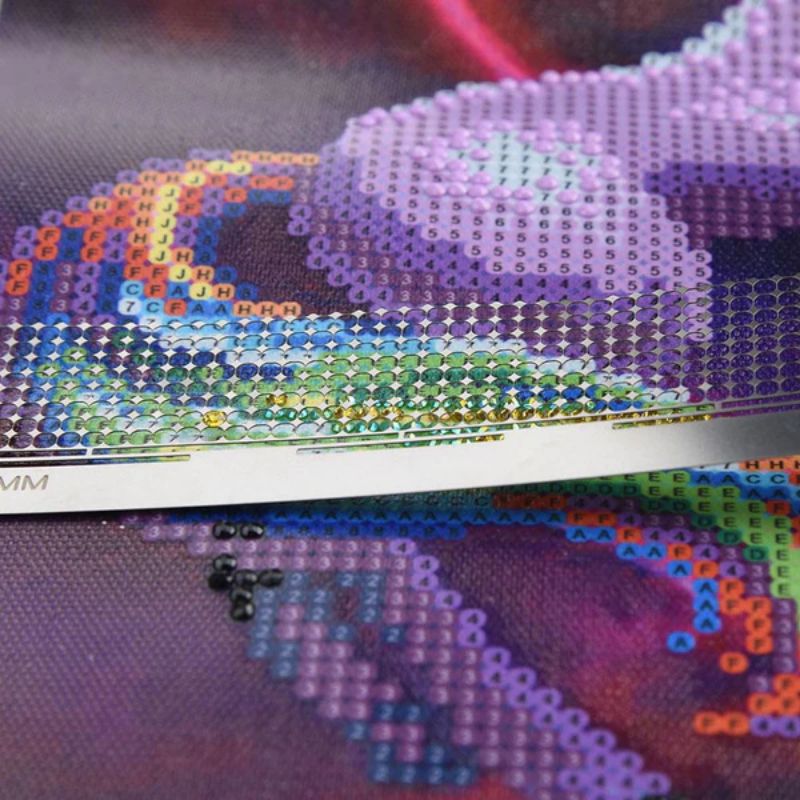
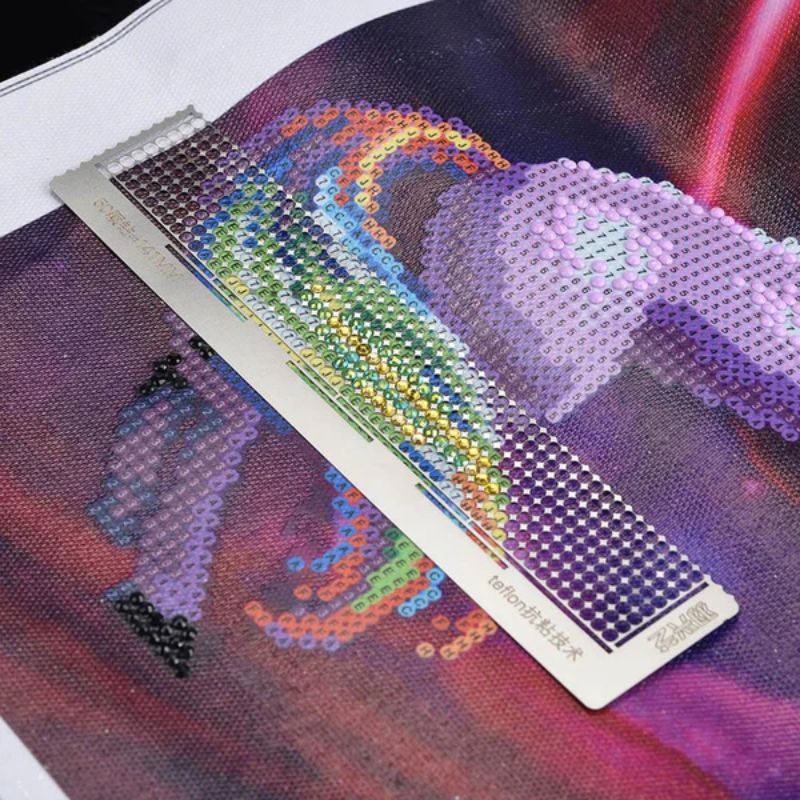
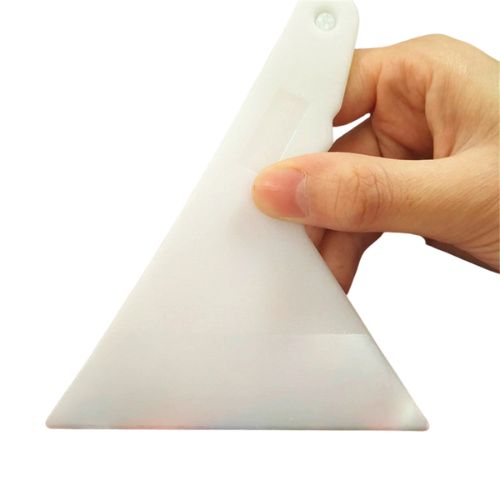
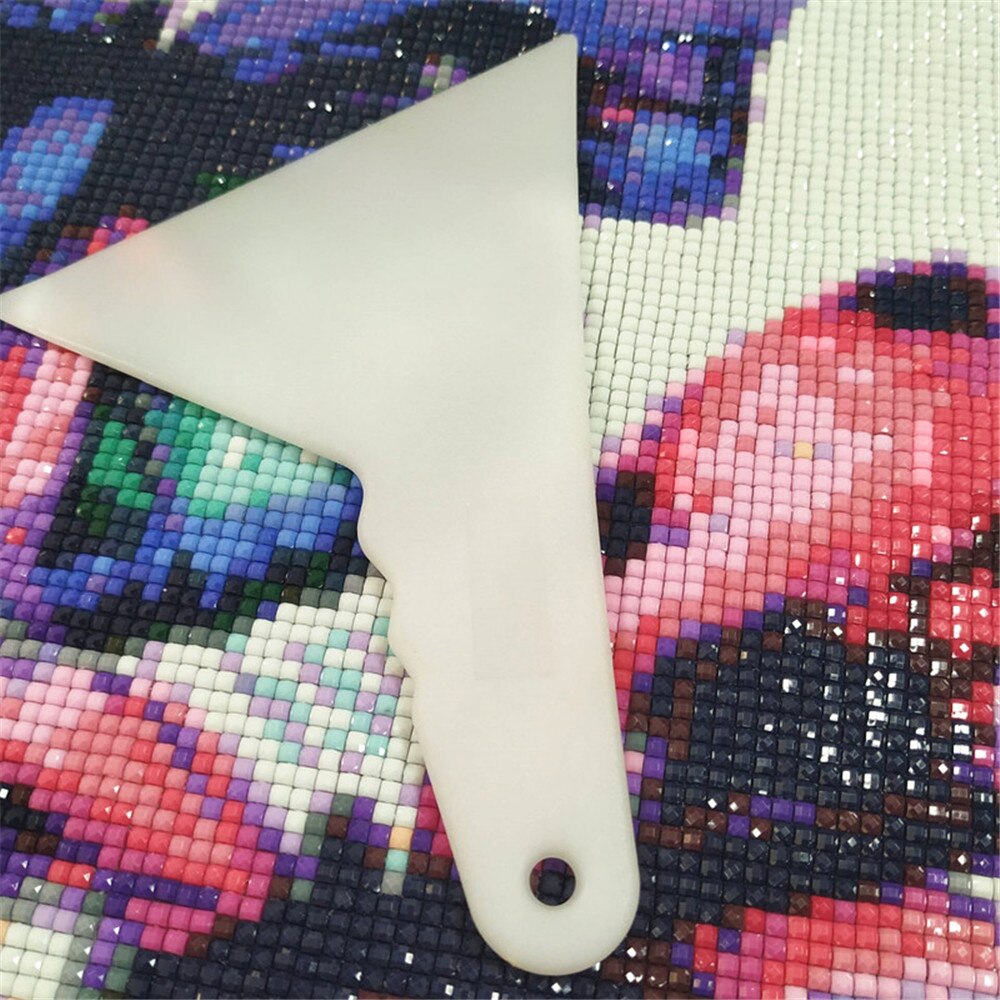
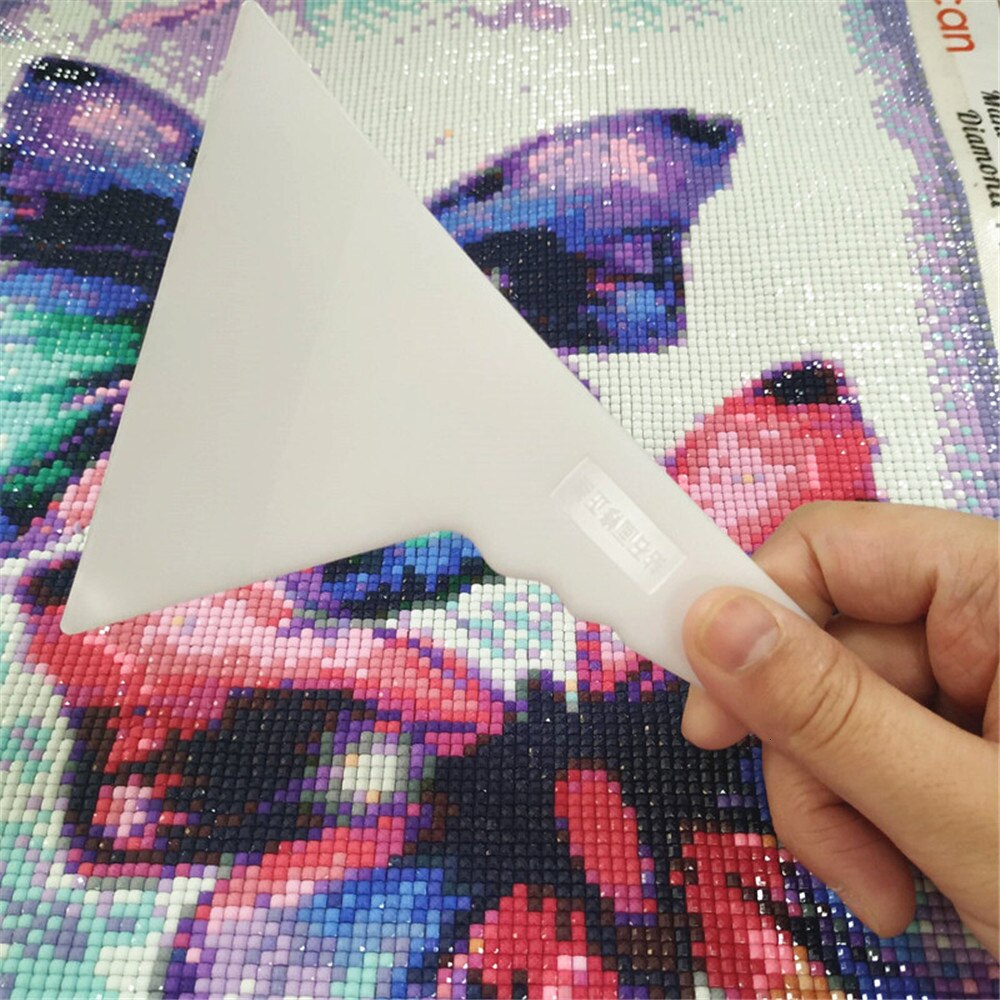
The rulers
There are 2 types, one for square diamonds and one for round diamonds. Approximately 20 cm depending on the model, they are ideal for laying large areas of the same colour.
Position them on the canvas, marking the relevant symbols, and all you have to do is insert the small diamonds into the holes provided.
The result is spectacular. Thanks to them, the diamonds are impeccable!
Find out how to make the perfect diamond art kit.
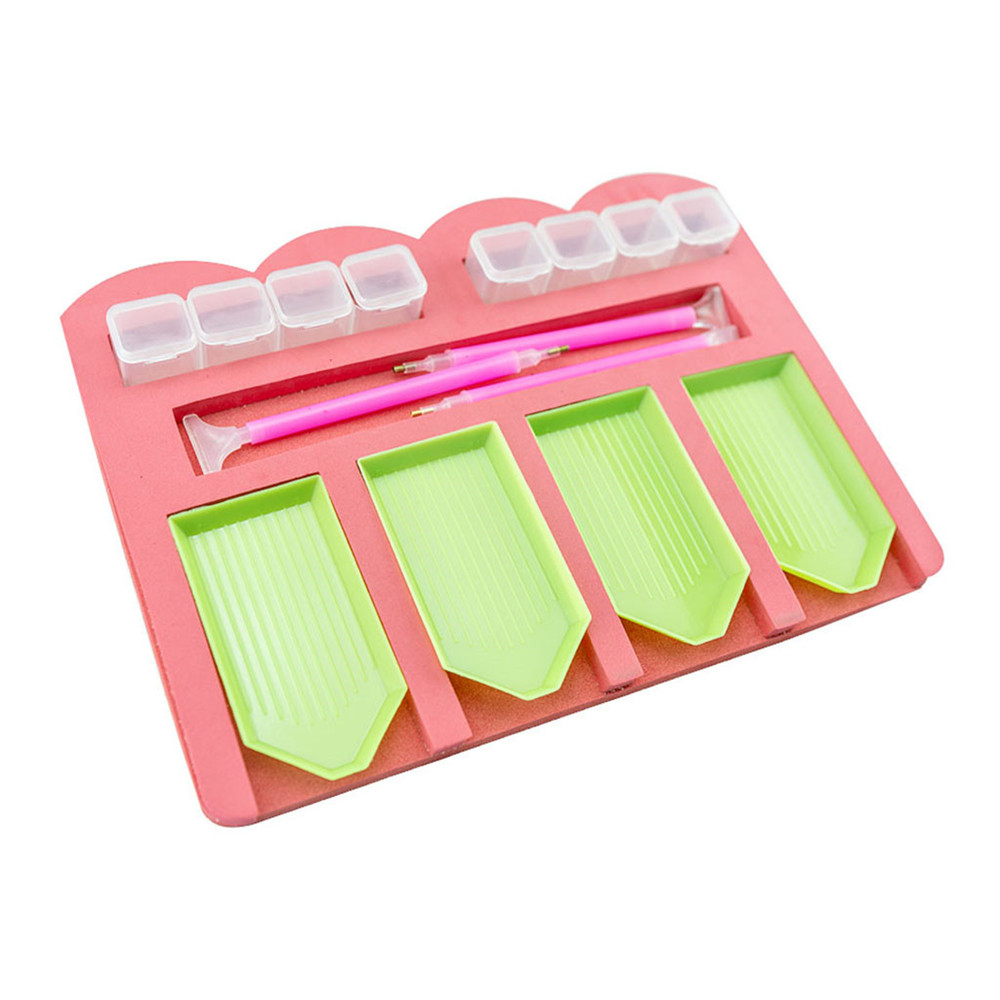
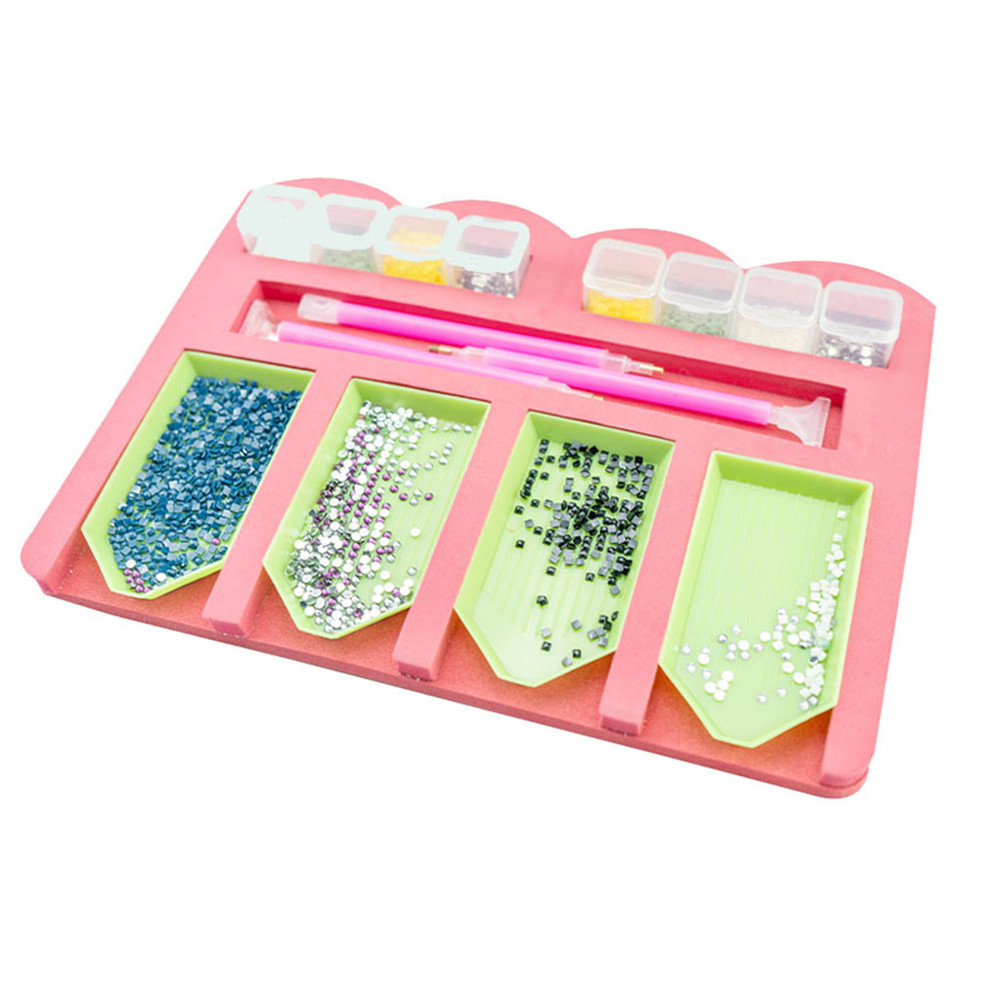
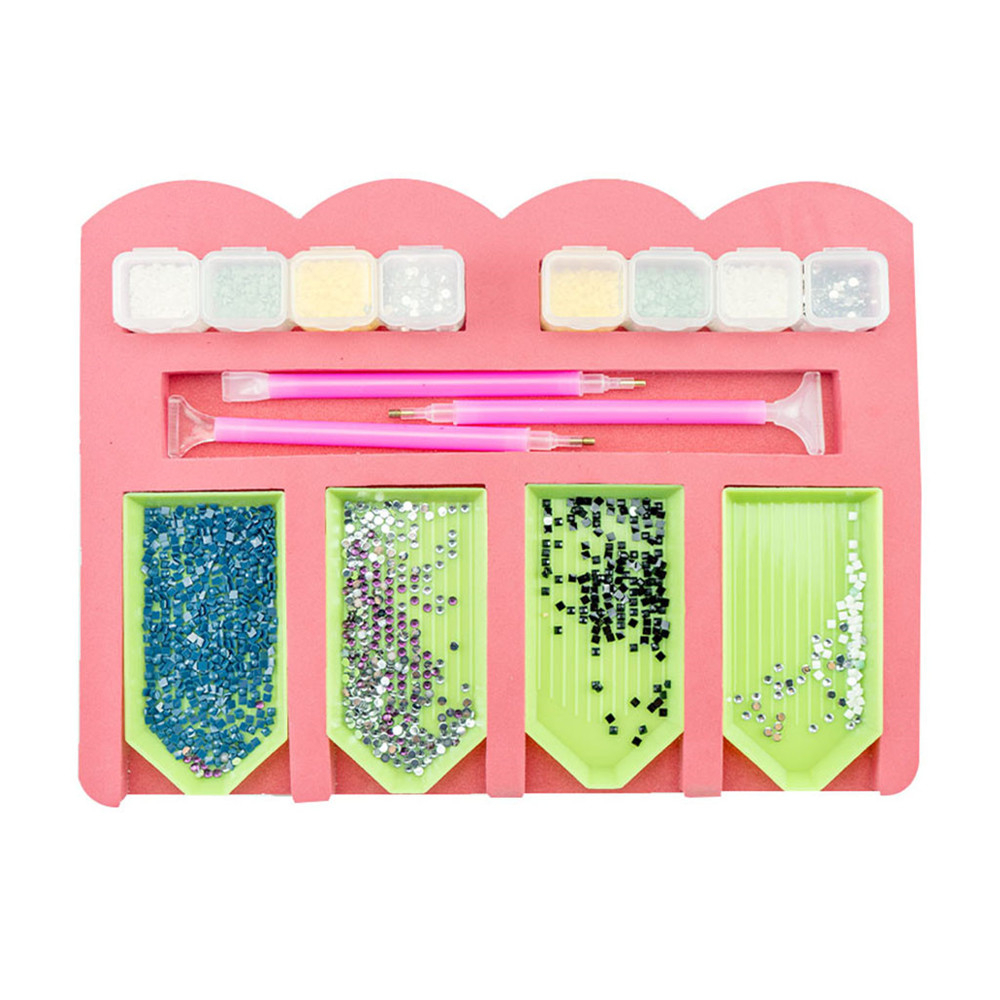
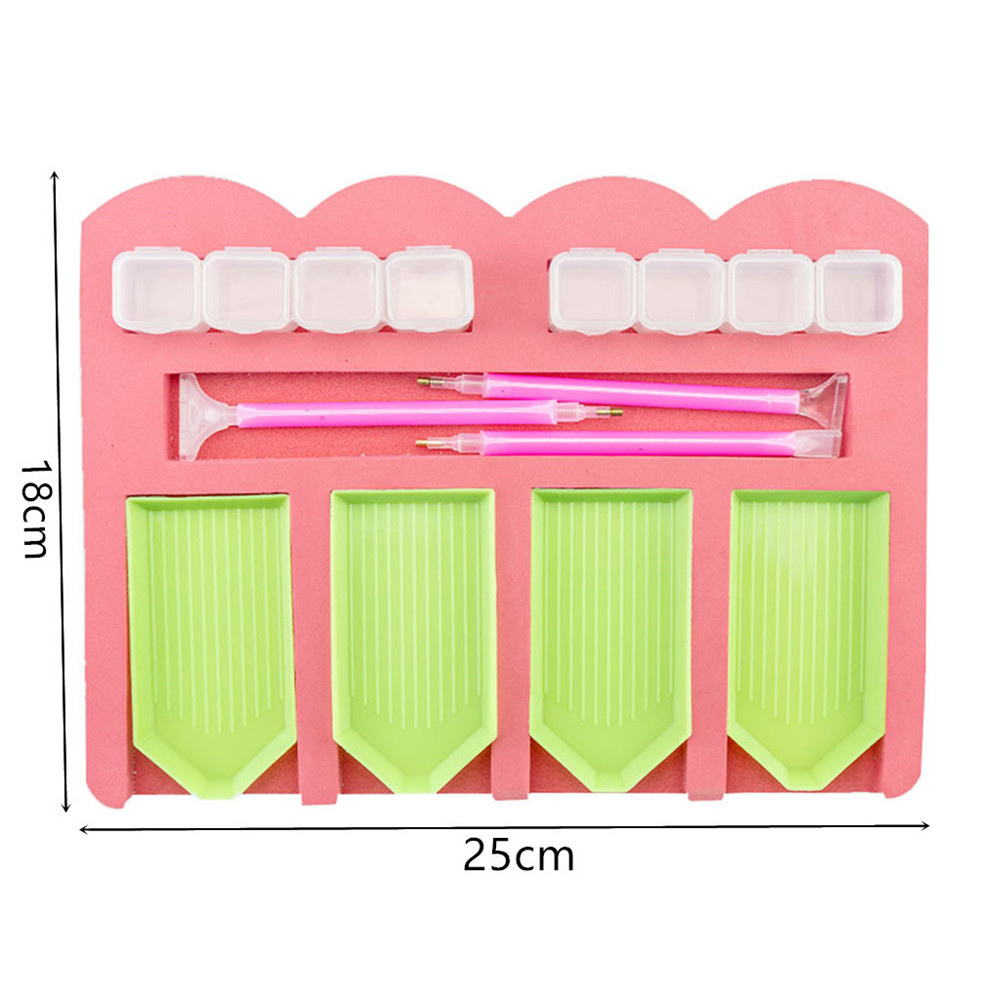
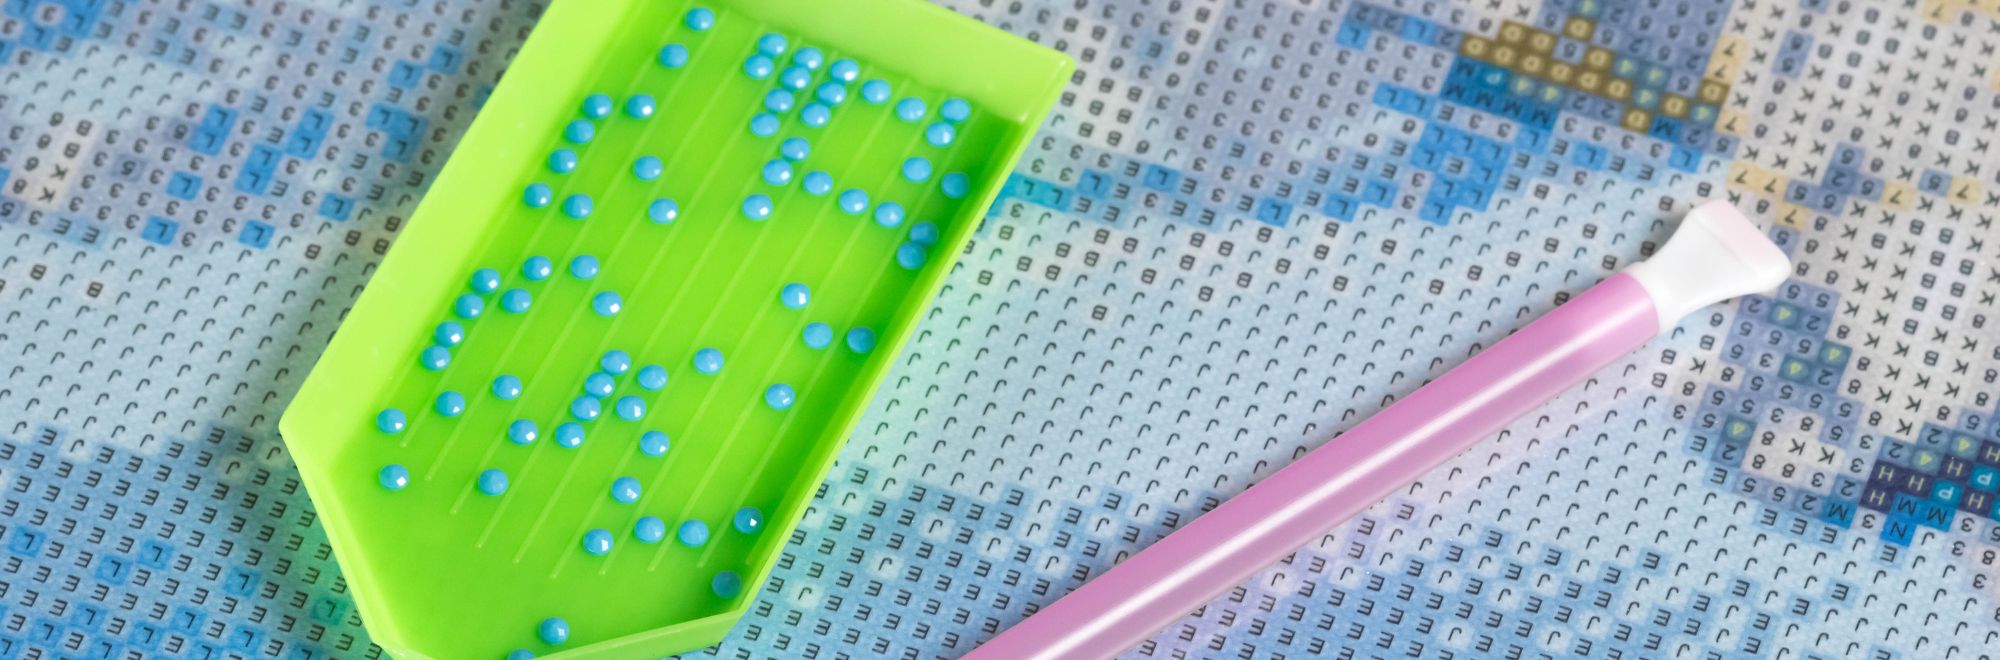
Diamond painting trays
There are several sizes available, and they all have grooves that allow the diamonds to be separated and aligned for easy catching.
Once you've poured the diamond into the tray, you shake it gently and they'll produce themselves!
Those with pouring spouts are very practical for emptying diamonds that are no longer in use and putting them back in the box or bag.
Large trays are useful when a large surface needs to be covered in a single colour, as you need lots of diamonds.
Good to know:
Some diamonds stick together. So pour the diamonds of each colour one by one into the cups and press lightly from right to left with the back of a second cup or a large silicone spoon.
This will loosen them and get them working.
Discover tips for using your diamond embroidery trays.
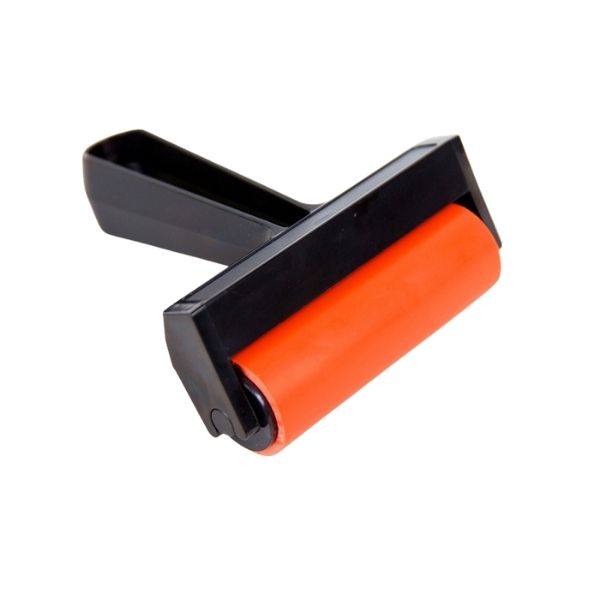
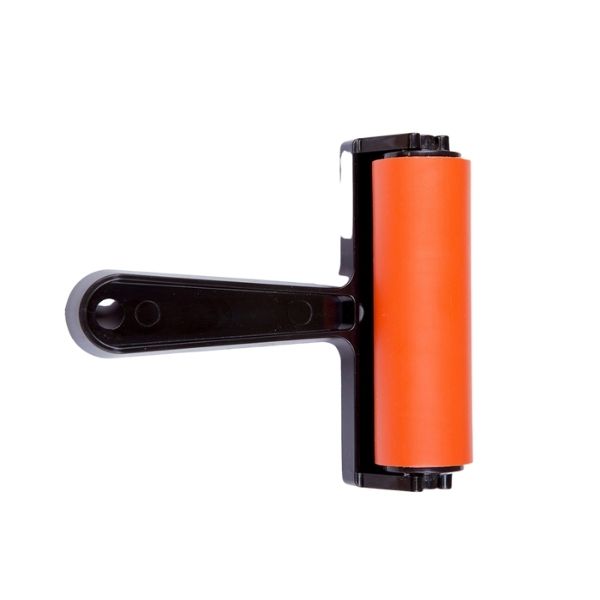

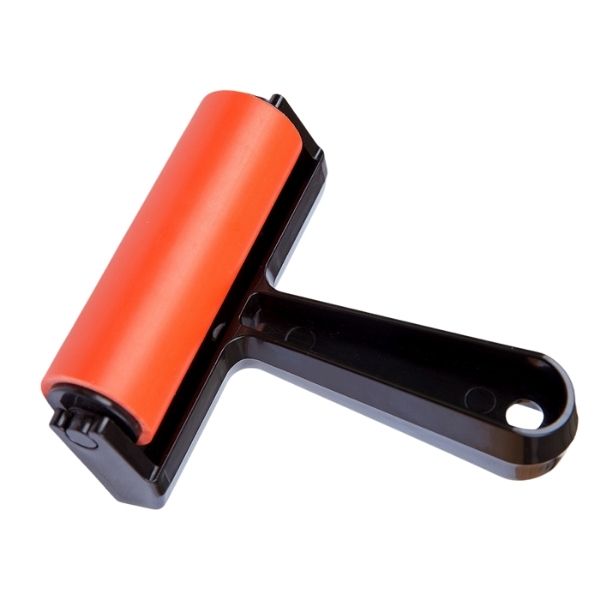

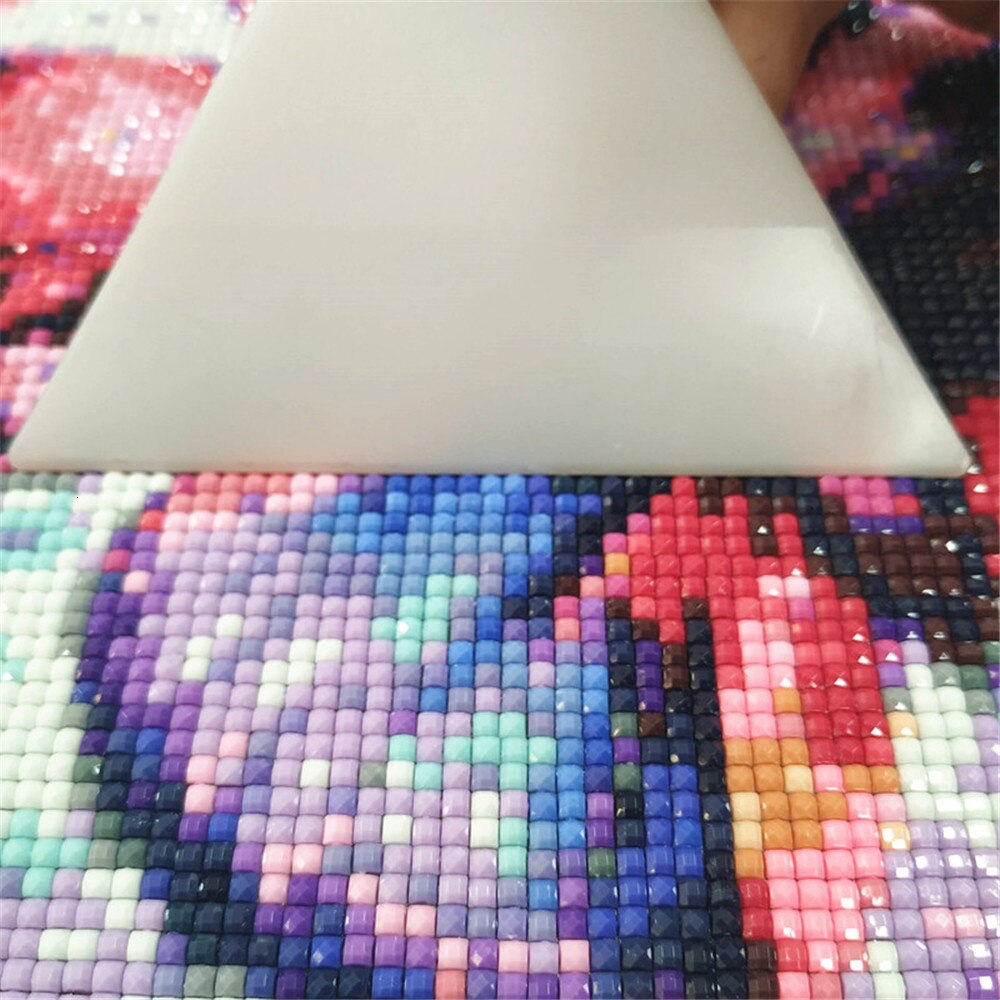
The roller
This very practical tool is used to ensure that the diamonds adhere well to the canvas.
Once the embroidery is finished, place it on a flat surface with a protective cloth over it to avoid damaging the diamonds, and pass the diamond painting roller over the entire surface, applying gentle pressure.
No more nasty surprises with diamonds!
Tips :
No special rollers for diamond painting? Don't worry, a rolling pin will always do the trick!
Find out how to flatten your canvas properly.
The pusher
The pusher is used to align the diamonds on the canvas. In fact, some of them are crooked, and the rows or columns are not perfectly straight.
The pusher should be pressed against the row or column in question and pushed with gentle pressure.
The result is guaranteed: the rhinestones take their place and the embroidery is perfectly aligned.
There is also a pusher tip that fits certain styli.
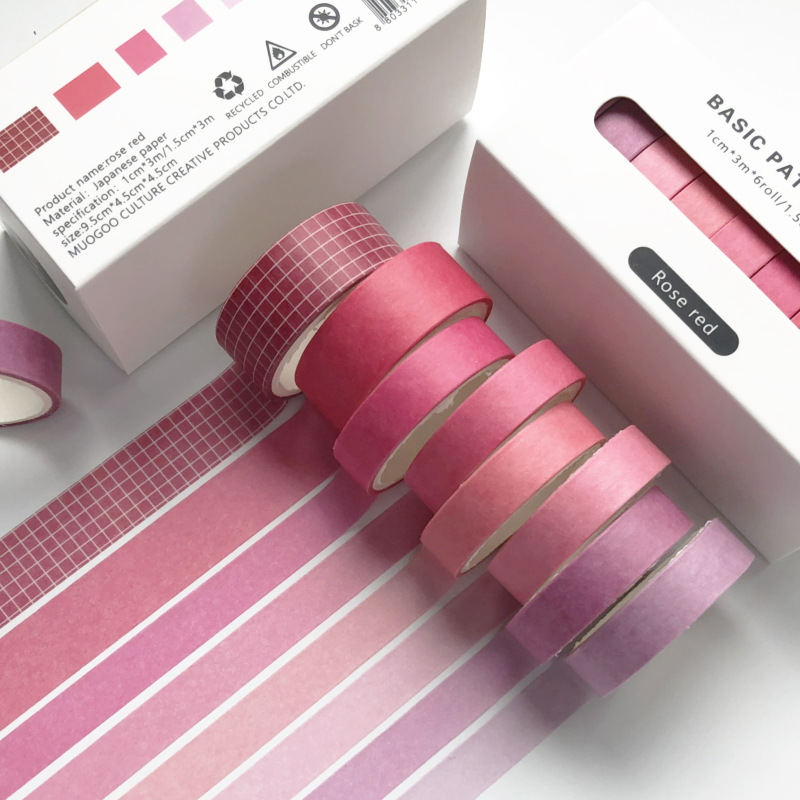
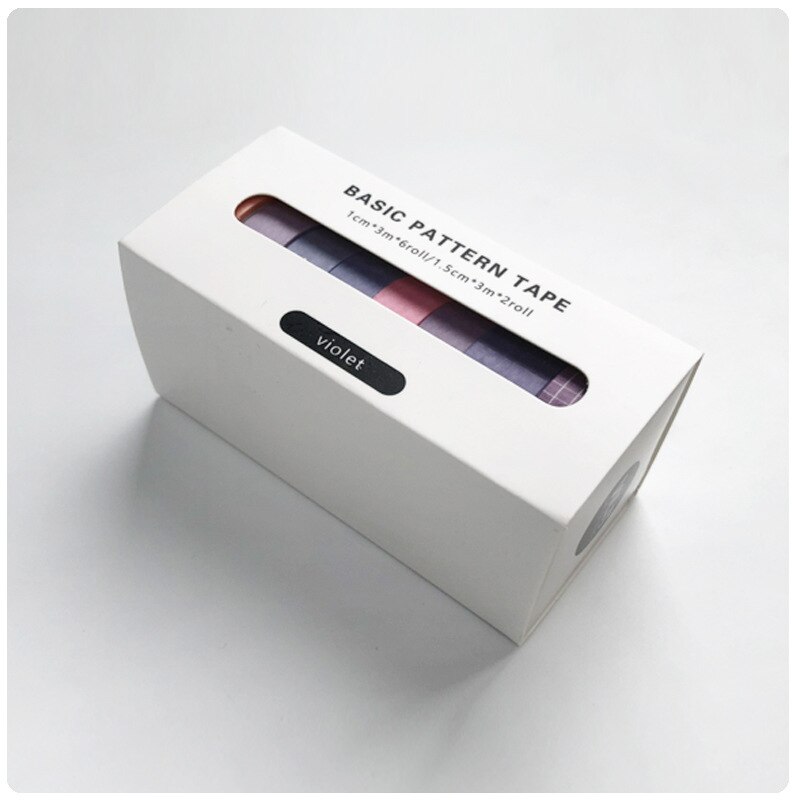
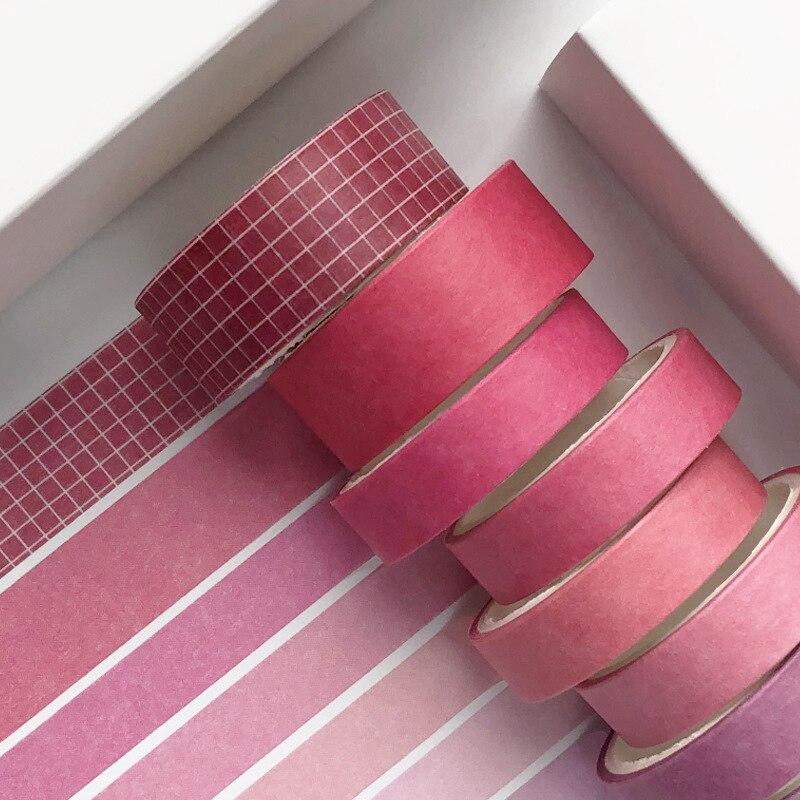
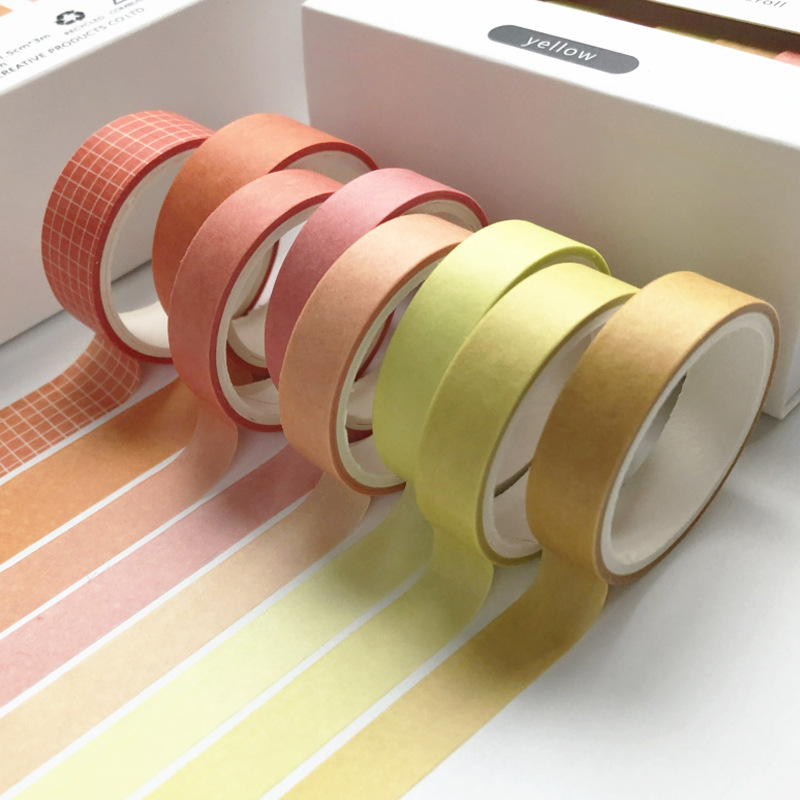
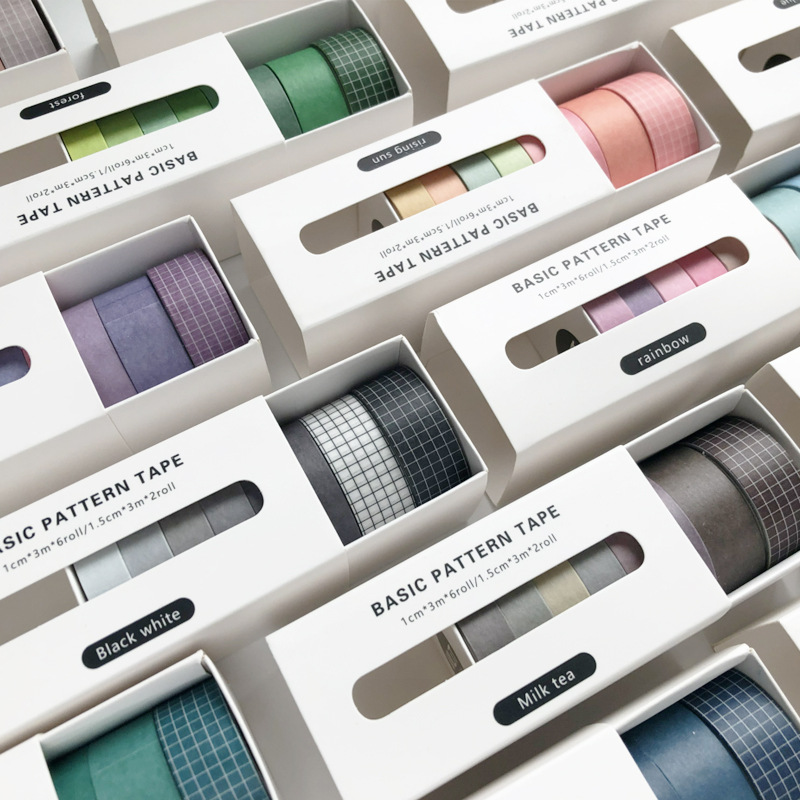
The washi tape
When you remove the protective paper, there is a sticky part that sticks out of the fabric and can get in the way when embroidering. The trick is to stick adhesive tape around the fabric to cover this sticky part.
The trick is to stick adhesive tape around the fabric to cover this sticky area. This will make embroidery more comfortable and prevent dust from sticking to it.
Tips:
You can buy special rolls of embroidery material such as washi tape, but an ordinary roll of adhesive tape will do.

The magnifying glass
This can be useful, as diamonds are small and the eyes can tire quickly over large surfaces.
There are different types:
- with a stand, which you place on the surface you are working on
- that pinch
- that hooks onto the stylus
- in the shape of glasses or helmets
Tips:
In short, you've got it, depending on your needs, you'll easily find the one that suits you best.
Using a lamp can help you avoid certain diamond art mistakes.
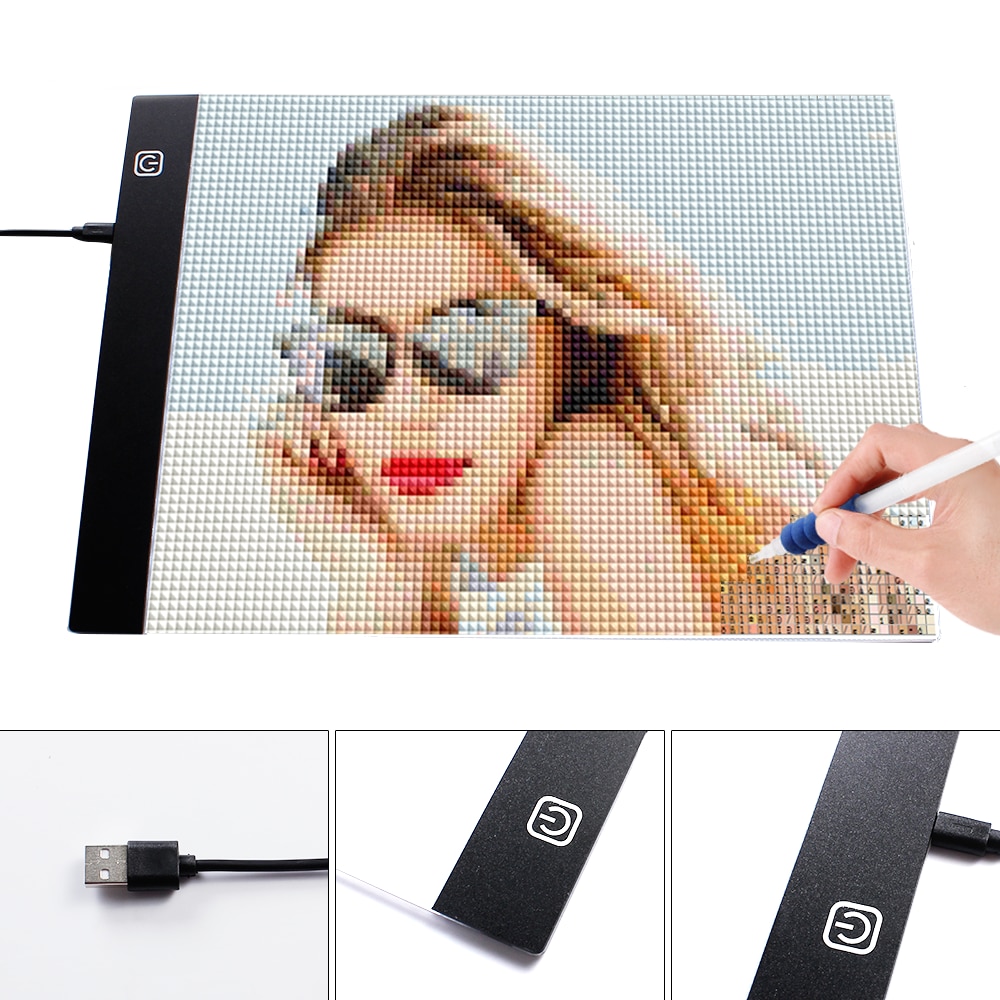
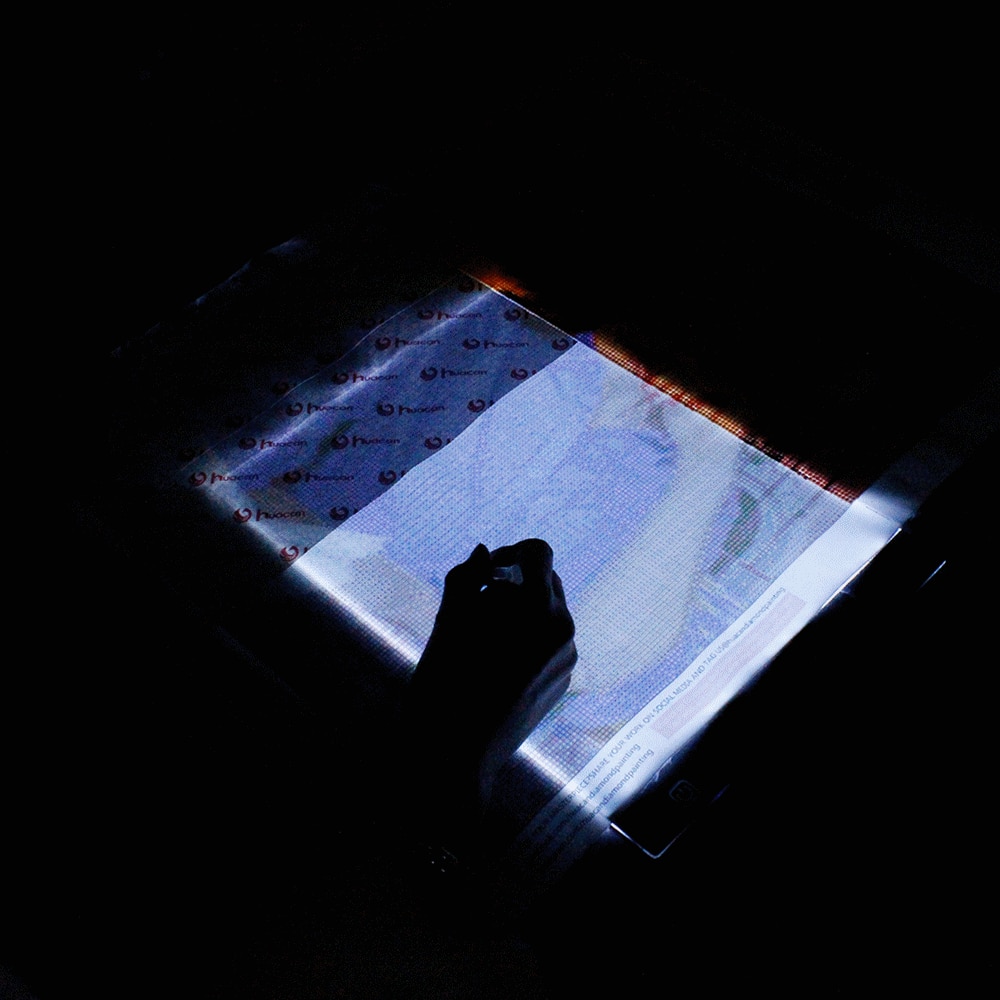
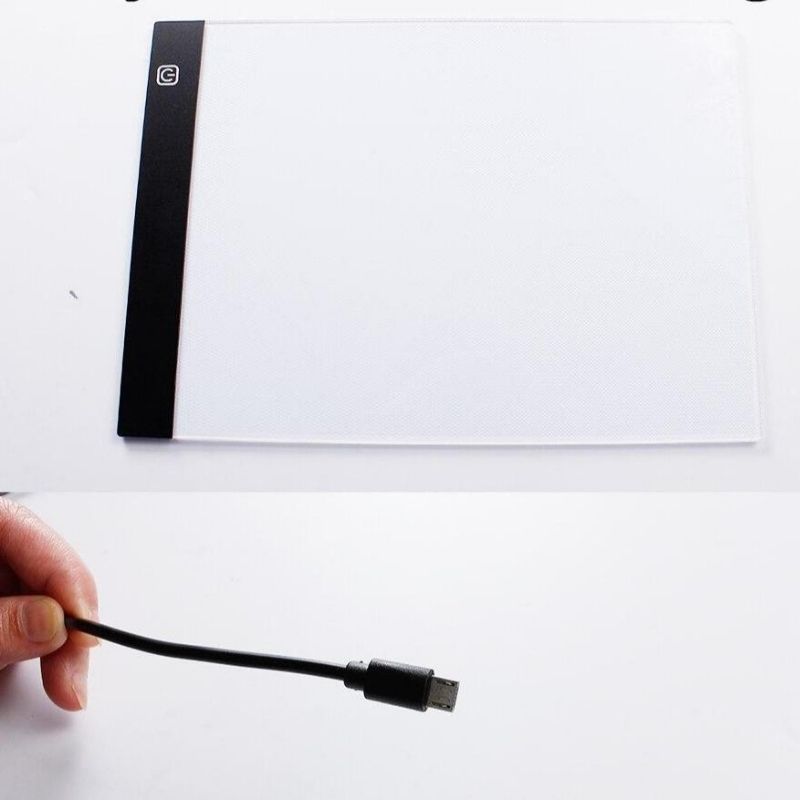
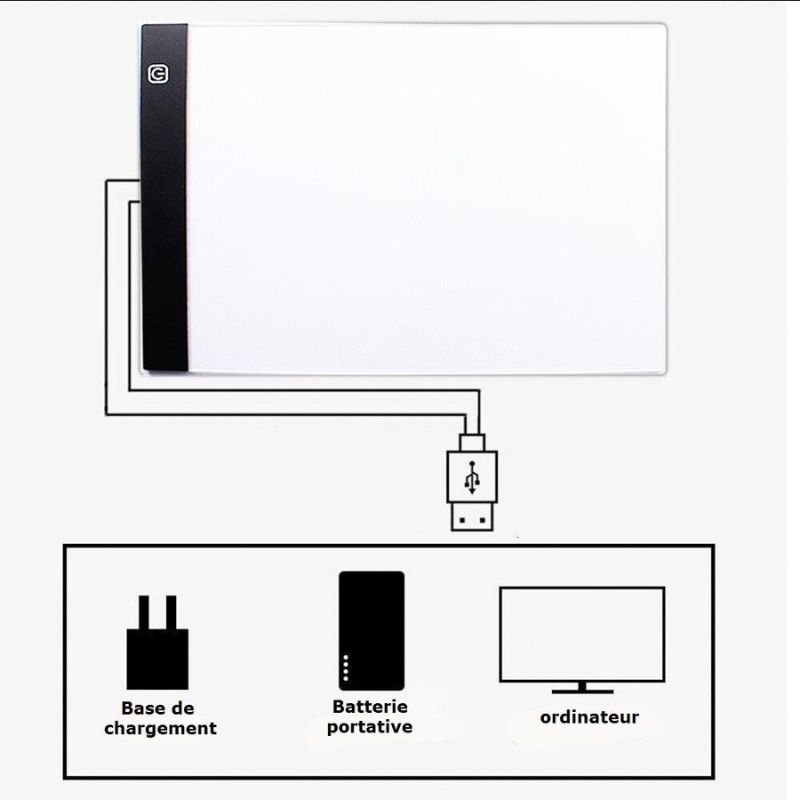
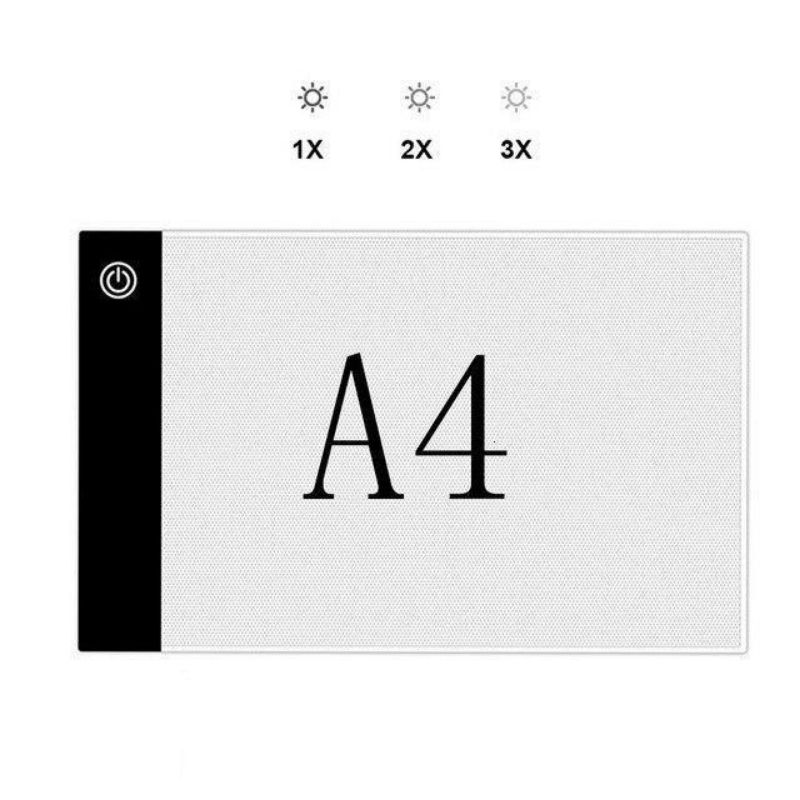
LED light shelves
The rhinestones are small and stuck together, and it's not always easy to get a good view.
Once it starts to darken, when you've been working on the embroidery for hours... it's not always easy on the eyes!
A lightweight light shelf provides better visibility of the fabric. Thanks to it, diamond placement is clear and precise without frowning or pulling your eyes!
Light tablets are often available in several formats:
- A5 measuring 14.8 x 21 cm
- A4 measuring 21 x 29.7 cm
- A3 measuring 29.7 x 42 cm
Which light tablet for diamond art should I choose?
If you're used to creating small canvases, choose an A4 or A5 size, and if you like large canvases (XXL), an A3 size.
The light intensity can be adjusted to suit everyone. They have clips to hold your artwork in place.
You can also use the tablet holder for added comfort with embossed embroidery.
There are also carry bags so you can take your favourite hobby with you wherever you go.
Need more information? Discover the advantages of using a light pad for diamond painting.
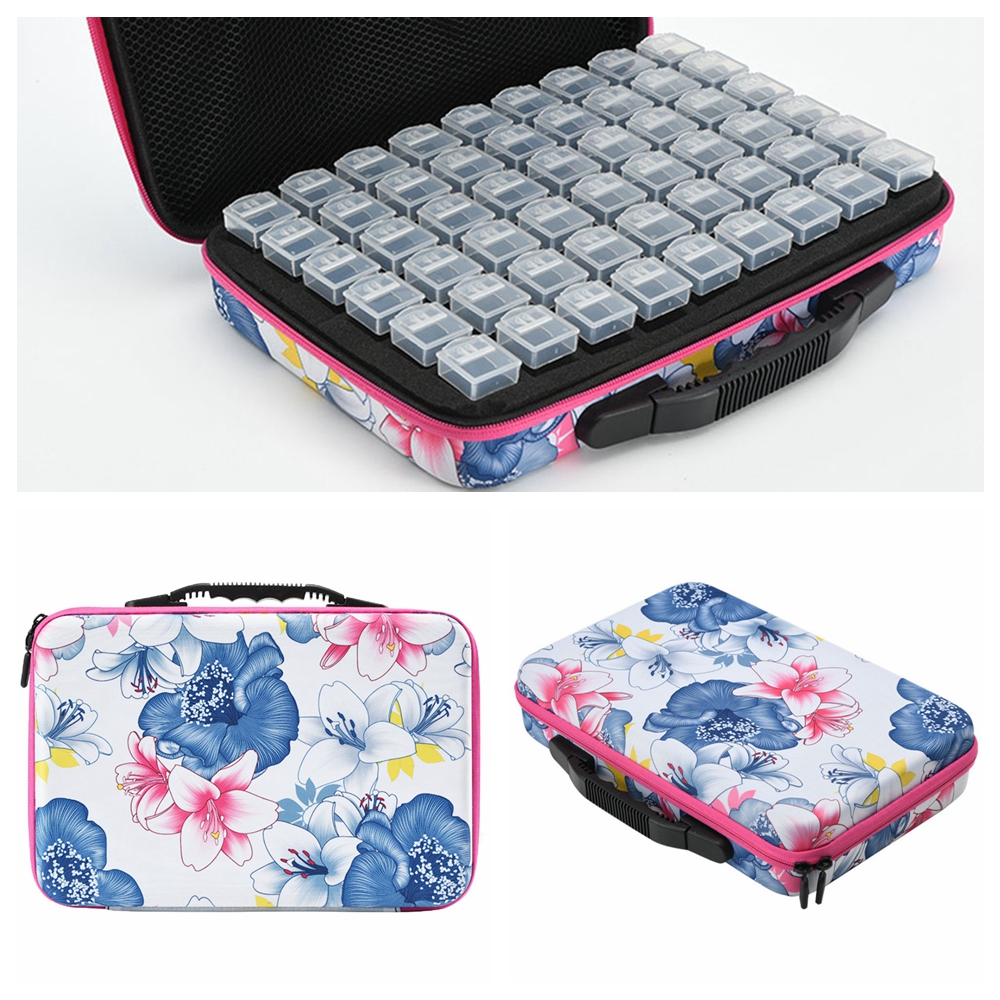
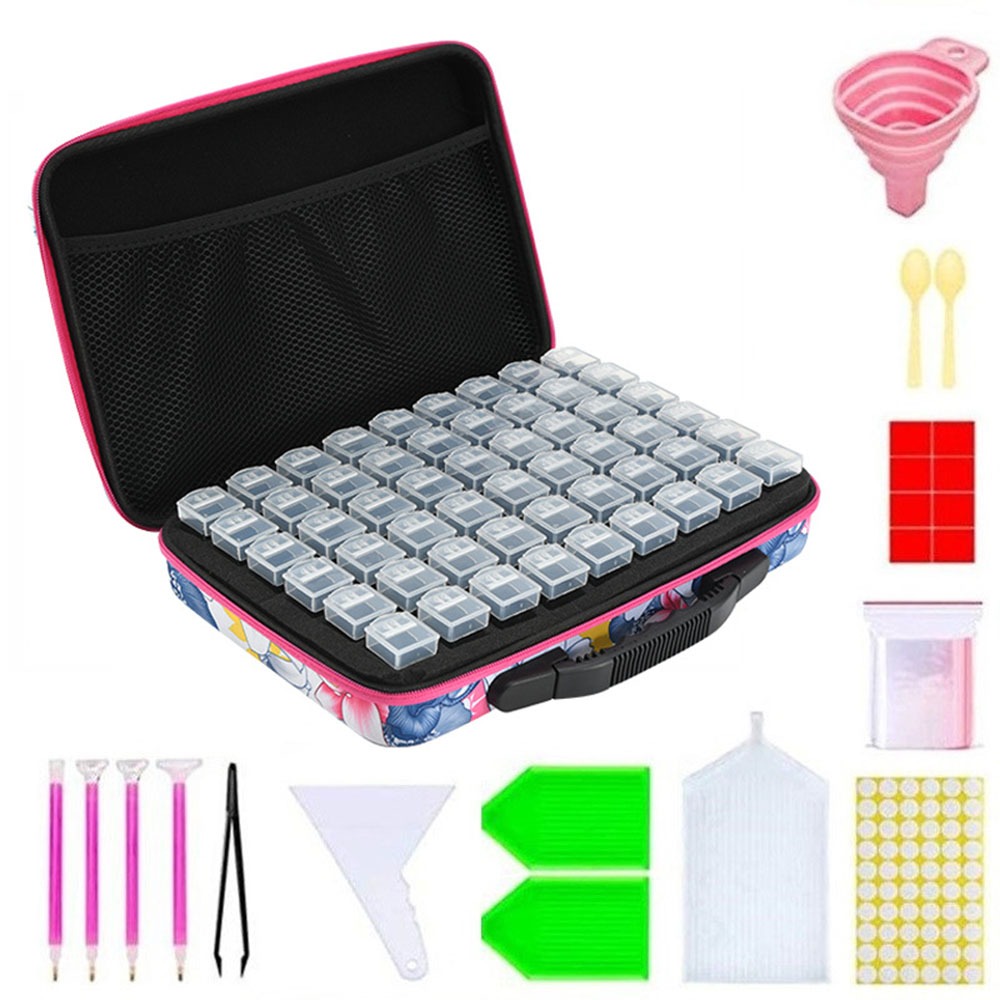
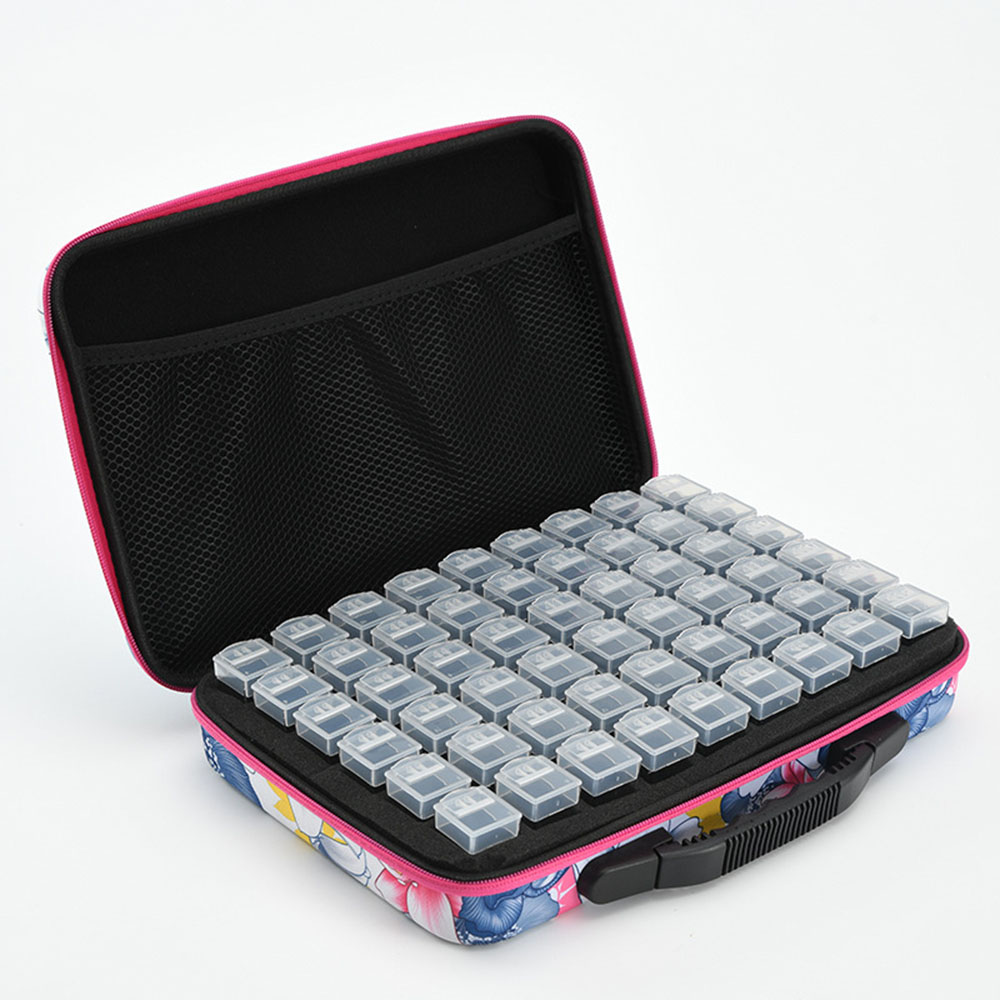
Boxes and other utensils
Once the little bags of diamonds have been opened, it's not easy to handle them without losing some!
You can store them in a ziplock bag with your colour number on the label so you don't get confused, or you can store them in small round boxes, square boxes, tubes - there's a whole range of sizes!
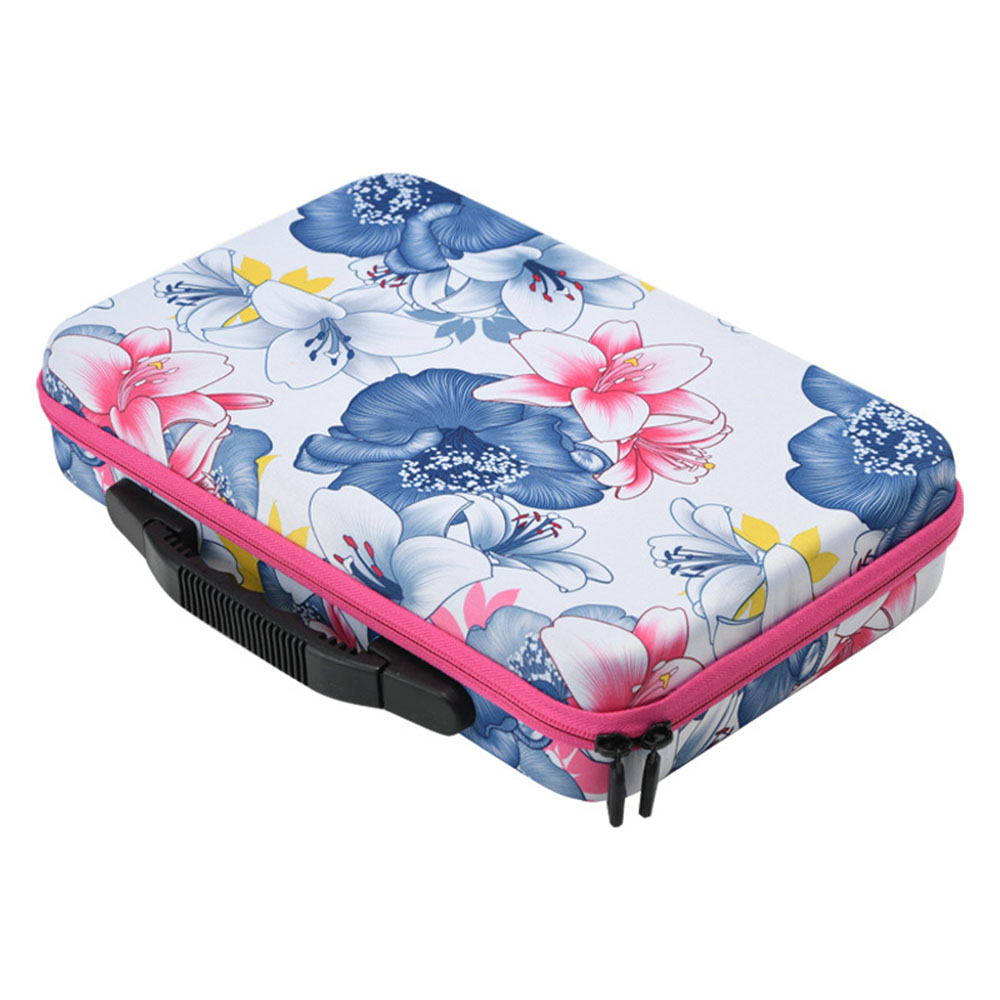
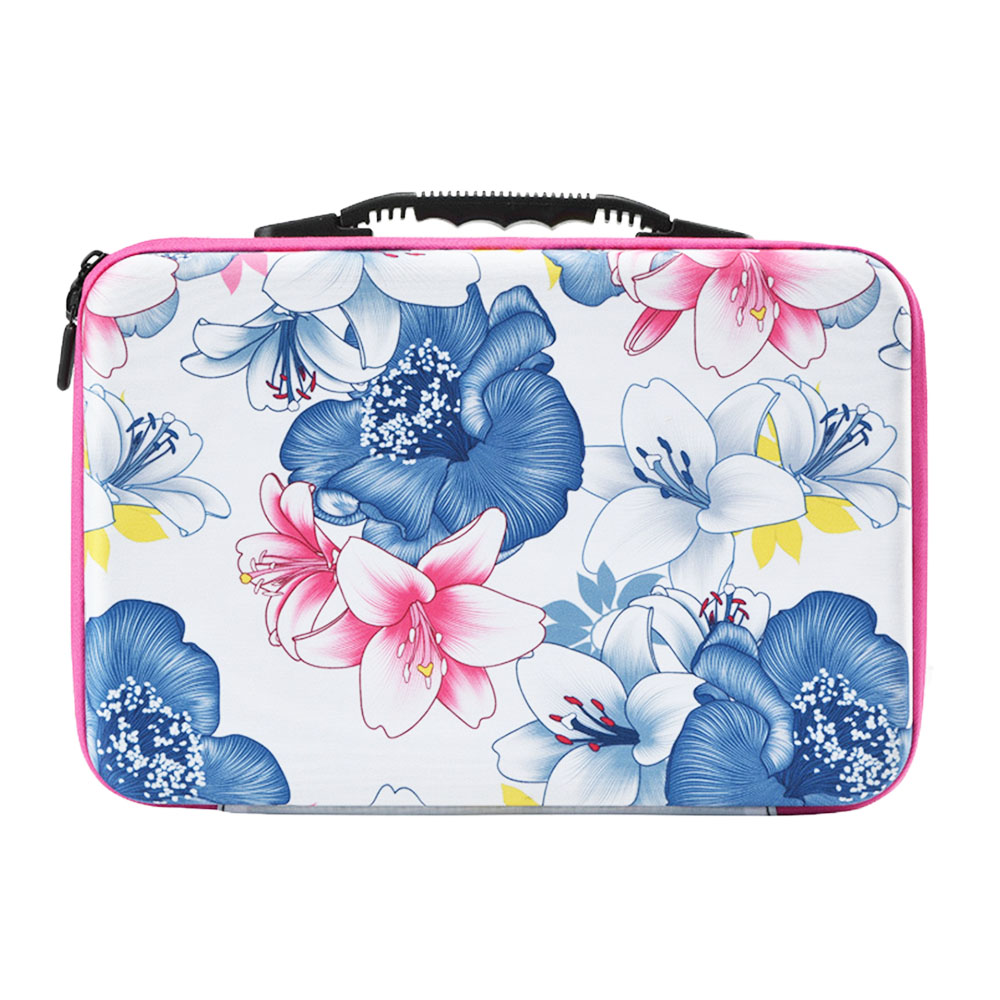
These same boxes can be stored in a small soft or hard case to keep them with your stylus, glue, pliers... perfect for weekends or holidays.
You can also use :
- a funnel to hold these mini boxes into which you can easily pour the diamonds
- self-adhesive labels to indicate the colour reference on each box
- a small box to separate glued diamonds
Now you know everything you need to know about the process of creating a diamond art kit.