
4 Tips and tricks for using diamond painting trays
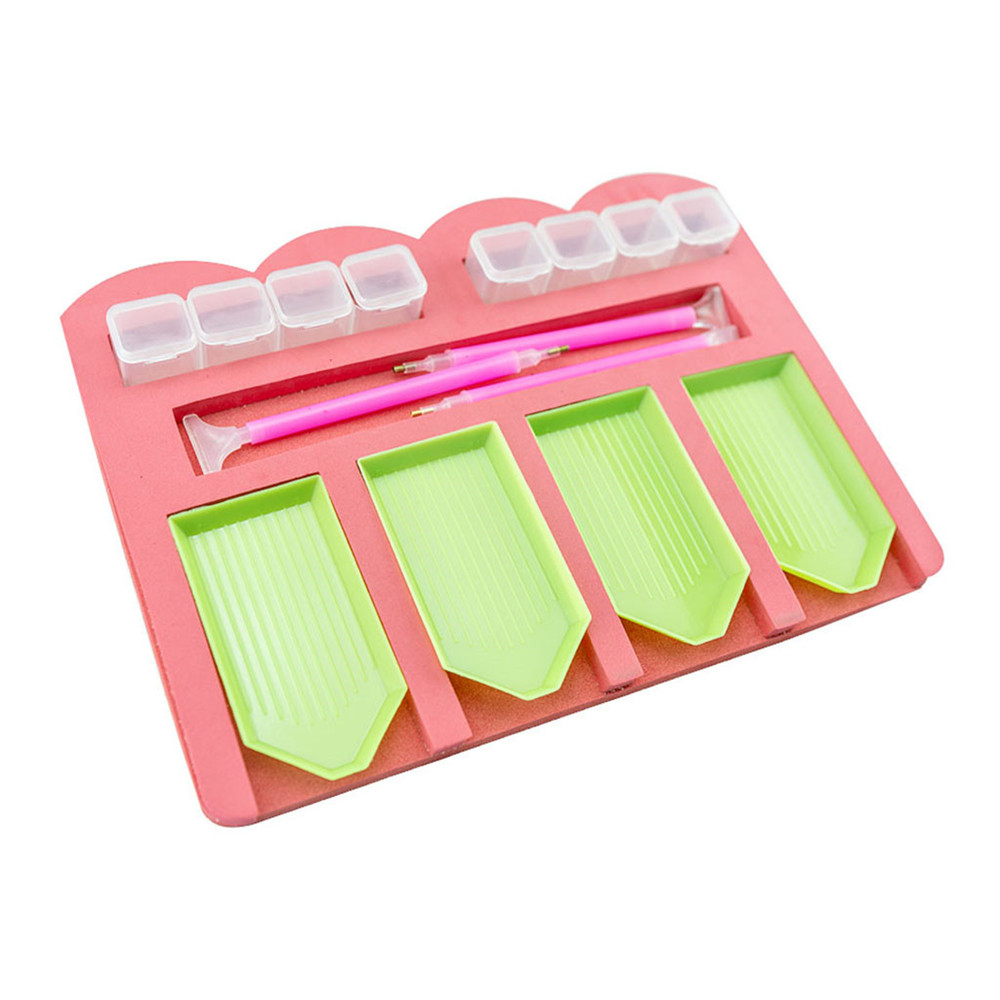
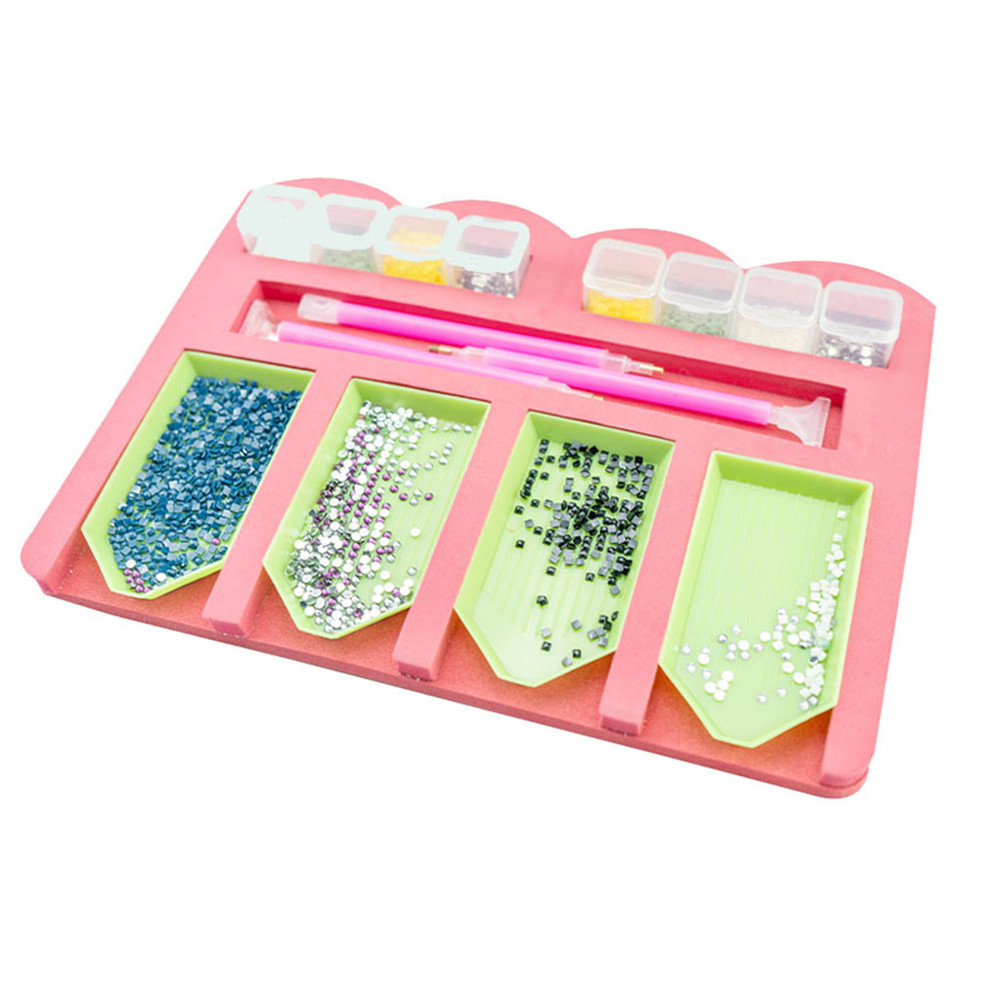
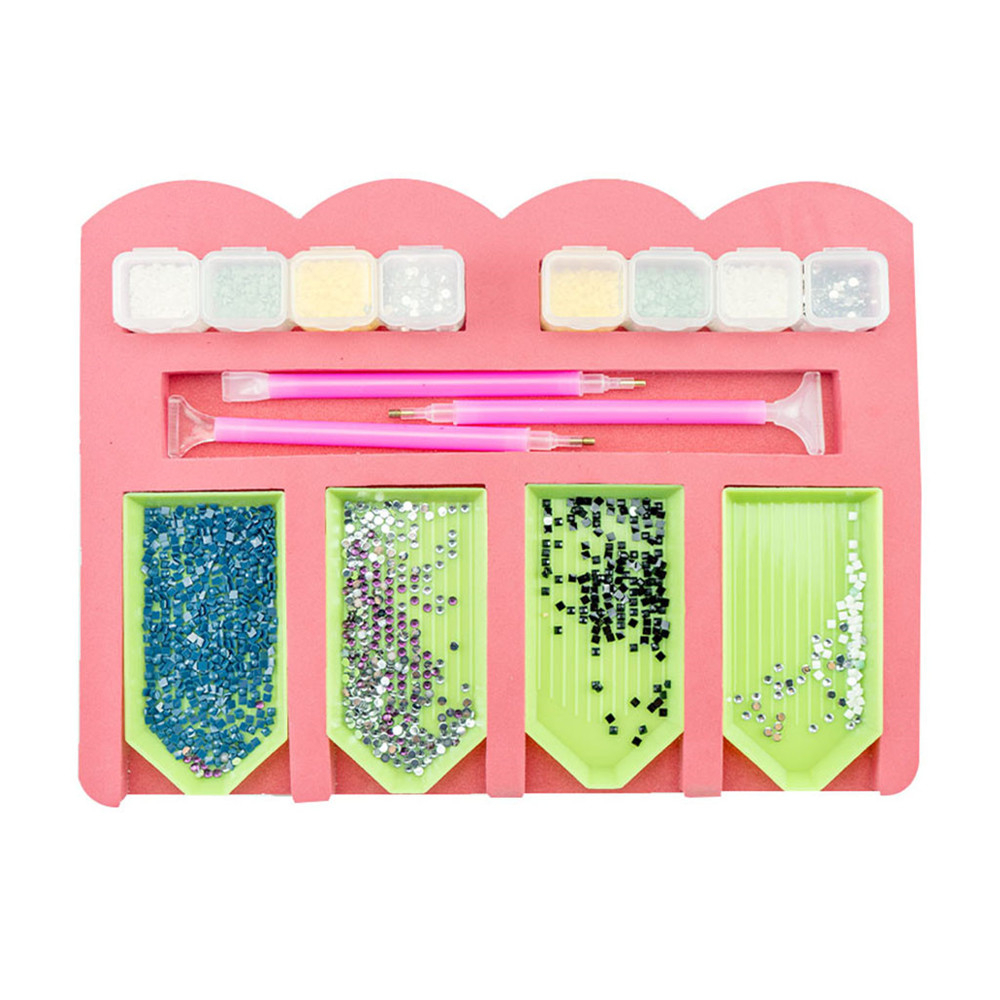
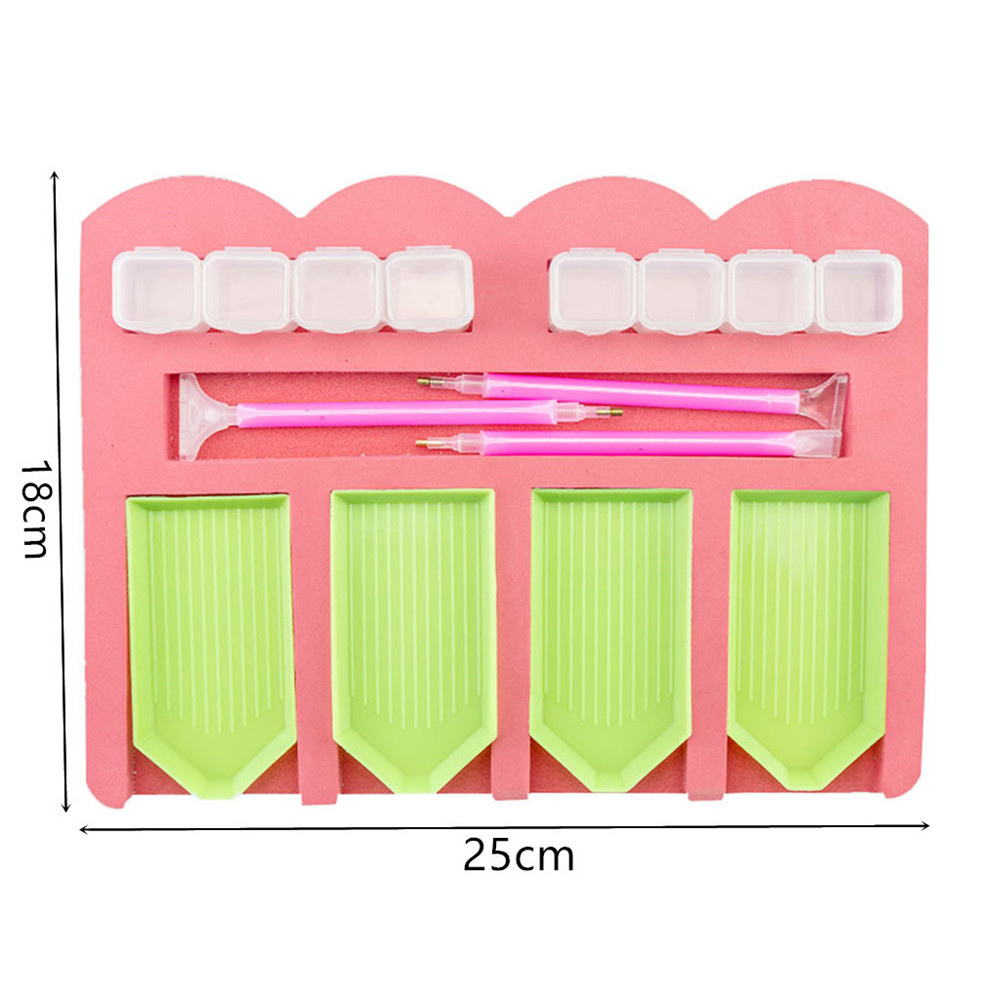
Each kit procured from Lartera is furnished with an assortment of tools, including a diamond painting tray.
You're well aware that the tray proves perfect for holding your drills while engrossed in an embroidery, yet you may not be versed in extracting the utmost utility from this advantageous diamond painting implement.
So, what is the most optimal way to employ it and how might you elevate your diamond embroidery prowess?
Peruse further to unearth the revelations!
1. Align diamond tips in the right direction
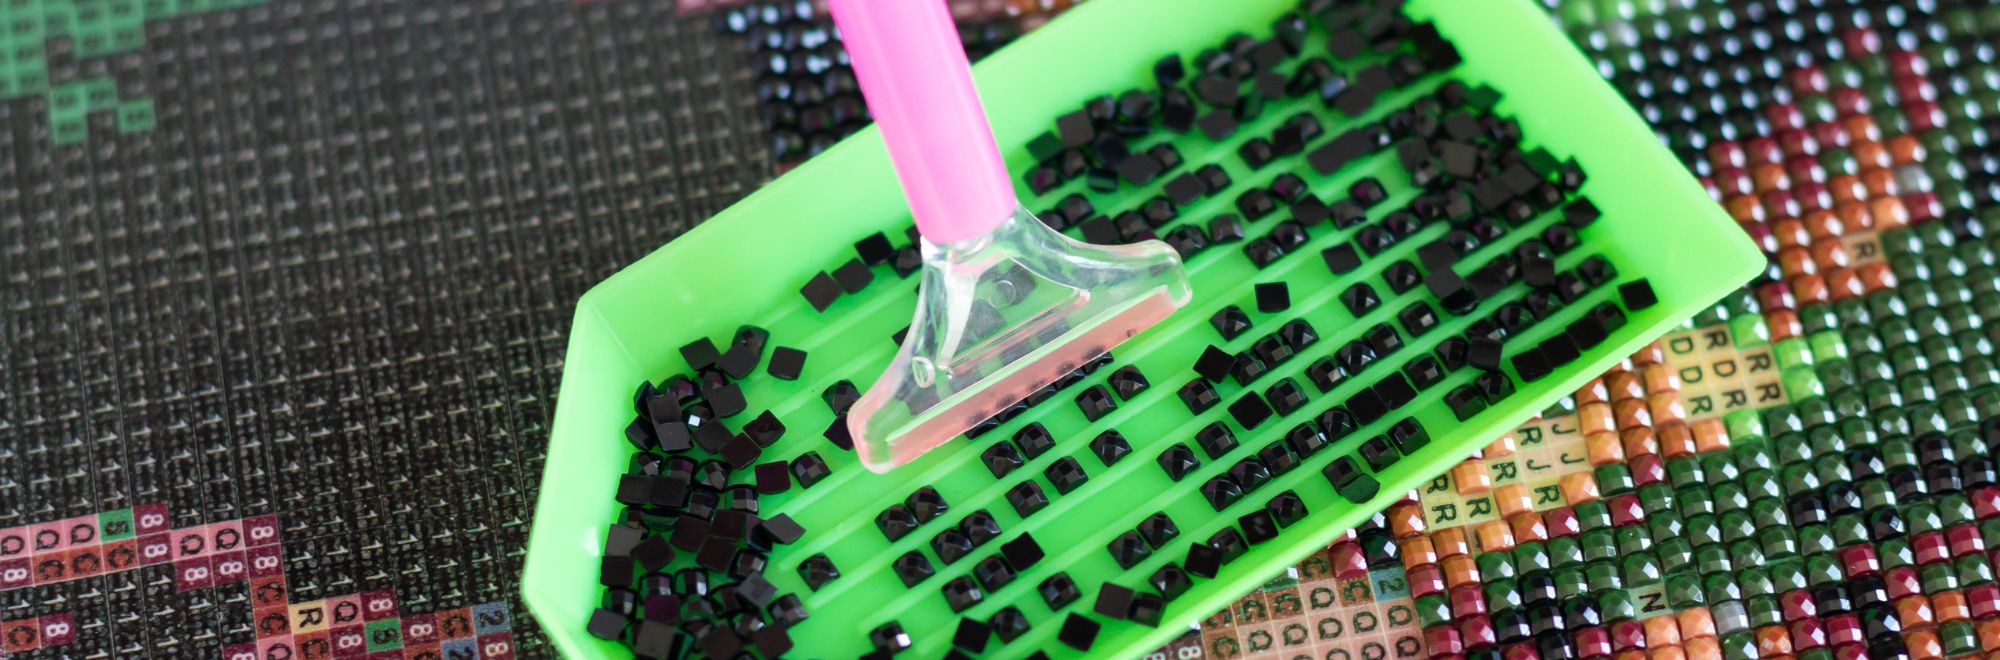
Diamond painting trays are engineered to maintain drill tips in a flat position, with the faceted side oriented upwards. Furthermore, their design facilitates the alignment of rhinestones in straight rows, thereby simplifying the simultaneous collection of multiple gems using a multi-placer tool.
However, the query remains: How do you ensure the rhinestones remain level?
Pour monochromatic diamonds into the tray, being cautious not to overfill it—sufficient room must be reserved for drills to adjust sans egress.
Subsequently, gently sway the tray from side to side, inducing the majority of drills to settle in orderly rows.
If you want to create your artwork quickly, find out how to use a multi-placer stylus.
Tenderly tap the spout's tip of the tray. This will glide the tips backward, yielding neat and compact lines. You are now primed to resume your drills, individually or with multifaceted delight.
Upon placing all designated drills onto the canvas, if necessitated, add additional drills to the tray, then replicate the motion and apply gentle pressure to achieve enhanced alignment.
Once done with a particular color, simply employ the spout's tip to recapture the drills into the bag or container.
Find out how to use the roller applicator to ensure that the rhinestones are properly stuck and aligned.
2. Stabilize the tray using adhesive padding
Are you manually grasping the diamond tray whilst working atop an easel? Though this approach suffices for many, holding the tray significantly heightens the risk of drills plummeting—a predicament unwelcome to all!
Fortunately, a straightforward solution exists.
When working on an inclined surface like an easel, employ a mildly adhesive self-adhesive pad to affix the tray to the canvas.
These pads can be procured from the automotive section of numerous stores, often marketed as car phone mounts, or alternatively, search online for "double-sided adhesive pads."
The deployment of such a pad shall ensure your drills remain within arm's reach, minimizing the likelihood of inadvertent tray displacement or spillage.
Even if an easel isn't employed, a double-sided adhesive pad proves ideal for securing the tray upon a level surface. This cushion curtails the risk of bumping the tray, averting its unintended descent from the table.
Find out why using a light pad is an essential part of creating magical works of art.
5. Employ an organizer to stack your trays
Diamond embroidery tray organizers stand as superlative accessories, facilitating the orderly containment of trays brimming with distinct drill colors.
Stackable trays confer consolidation, seamlessly accommodating multifarious hues within a single designated space—aptly suited for intricate projects characterized by a plethora of colors.
A mere online search for "diamond painting tray organizers" will unveil an array of styles and sizes, conveniently attainable at exceptionally reasonable price points.
Selecting a model that harmonizes ideally with your requisites should pose no challenge.
Discover the essential accessories for diamond painting.
4. Utilize trays to disentangle clusters of drills
Encountering a conglomeration of drill tips? Forego manual separation. Instead, position them within a tray, atop which another tray is positioned.
Gently exert pressure upon the upper tray, whereupon the lower tray's perforations should readily unfurl. In truth, a gratifying "pop" should emanate upon successful disentanglement.
In the event of particularly obstinate drills, rubbing the trays together shall ultimately effect their separation.
The use of sorting trays is important for designing your kits without a hitch.
Bonus Tip: If your diamonds tend to adhere to each other, the remedy might well be at hand within your laundry supplies.
Retrieve an anti-static spray bottle and apply a modest quantity thereof. Alternatively, tuck a fragment of standard fabric softener sheet into each bag or container to preempt the onset of static adhesion.
Diamond painting trays might not invariably command the same adulation and acknowledgment as other diamond painting implements, yet they constitute a pivotal facet of any endeavor.
Subsequent to the completion of several kits, you're sure to accumulate surplus trays—superb candidates for the experimentation of the tips and tricks outlined above. Delight in the process!