
How to frame a diamond painting?
You merely need to frame it… you'll see how to go about it, but rest assured: it's incredibly straightforward!
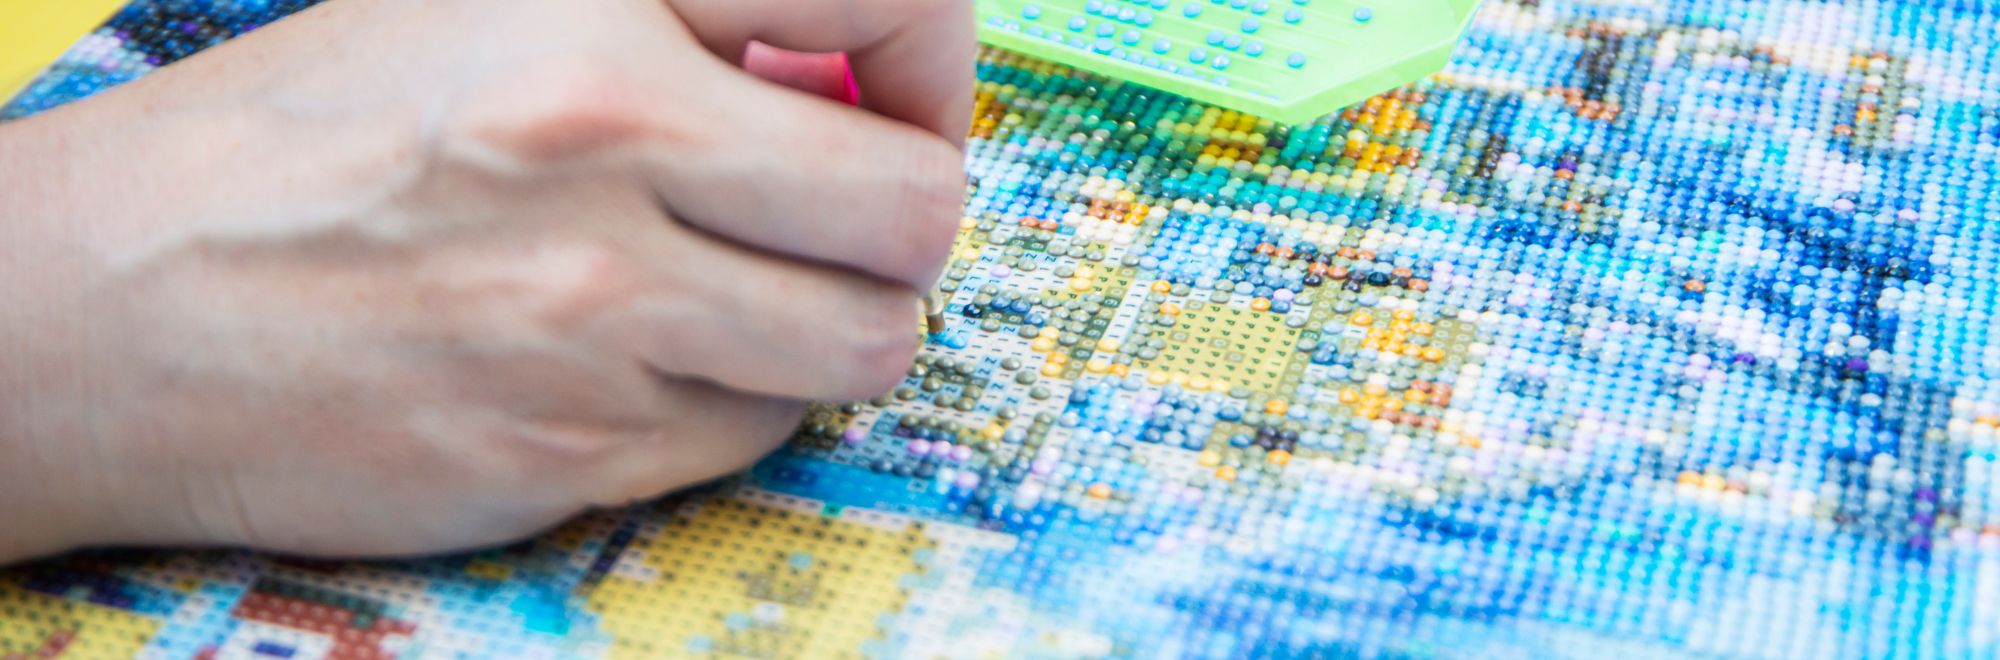
All you need to do is follow the steps we will cover in this article. First of all: You relax and enjoy embroidering a beautiful canvas from the Lartera shop, when suddenly, you realize that you've placed all the diamonds up to the very last one…?
It's at this moment that you surely ask yourself, "What should I do with it?"
Don't panic! If you have a knack for handiwork, we have a solution for you:
How to frame it!
You'll have a lot of questions, like "What's the purpose?" "How do I do it?" "Do I need tools?"
We recommend you keep reading, as we'll go through all the understandable and quick steps to construct the frame, secure your masterpiece, and hang it on one of your walls!
Of course, Lartera provides you with all the tips and a range of accessories to help you accomplish this important task...
Why frame a diamond painting?
If you're reading this: Congratulations! It means you've finished your diamond canvas.
Therefore, you'll know what to do with your bejeweled masterpiece, whether for decorative purposes or to protect it: framing a diamond painting is simple but essential.
Once hung on the wall, you'll truly appreciate the beauty of the canvas covered in diamonds.
Among other things: transitioning from a light creative activity to a genuine high-value artwork.
Why seal your canvas?
There are three main reasons why you absolutely must frame your diamond embroideries. We'll explain everything...
1. Added value
It may seem redundant to say, but it's important: you're transitioning from an embroidery created with a diamond pen and its paper canvas to a genuine high-value artwork.
Indeed, once your piece is proudly hung on the wall, you'll realize that the frame adds that extra 3D effect and an illusion of amplified diamond brilliance.
2. Protection
This is important: do you want to fold, tear, or destroy the result of hours of work and creation? I don't think so.
So, keep in mind that framing and varnishing the canvas keep it unfolded and flat so you don't have to fold the corners to stack it in a drawer or, worse, lose your diamonds... hence, a frame is the ideal treasure for your precious piece!
As a bonus: prevent curious children from mischievously producing mishaps, such as gleefully detaching newly placed diamonds or turning your canvas into parchment...
That's why spending a few minutes varnishing your diamond painting with adhesive varnish can bring a beneficial response to your canvas.
This works even for the more "knowledgeable" ones!
Find out which sealant to use for diamond painting.
3. Transporting your creation
Yes, because if you hadn't thought of it, once covered in diamonds, transporting the canvas you've folded would be impossible!
Glued diamonds stiffen the sheet, so if you try to fold it, disaster will strike... but in a nice wooden frame, don't worry, your canvas is stretched and sturdy.
If you ever feel like showing it off proudly to your friends and explaining that the Lartera diamond embroidery shop offers the most beautiful diamond embroidery canvases.
When they're framed, that will become possible!
Diamond painting promotion
Framing options
You've finally completed your magnificent masterpiece and you want to proudly display it on one of your walls.
Here are seven different ways to frame your diamond art kit canvas to fully share it with everyone around you.
Here are 7 ways to frame your finished diamond painting:
1. Purchase traditional photo frames
2. Apply wooden strips to your finished canvas
3. Adhere your diamond design to a pre-stretched blank canvas
4. Have your paintings professionally framed
5. Find photo frames in the nearest store
6. Display your work with a poster frame
7. Mount your diamond embroidery on a foam board

1. Frame it with a standard-sized frame
An easy way to frame your best diamond painting using standard frames purchased from a specialized frame store.
These frames come in a variety of styles and sizes, creating an instant elegant design that matches the decor.
But since many diamond paintings are not available in standard sizes, you may need to cut your canvas to fit.
1. Choose a frame slightly smaller than your diamond art canvas.
2. You can easily cut your diamond painting by placing it face down on a mat and cutting off an inch or two with the knife.
3. Frame the work as you would for any artwork, omitting the piece of glass. Glass can dull the luster and vibrancy of the diamonds.

2. How to frame diamond painting with stretcher bars?
Now that you've chosen your kit, created and sealed it, let's move on to framing...
Now that we've seen together the main advantages of creating frames, we'll show you simple and effective steps to install frames following the rules of the art.
So, we'll proceed step by step, from preparing the canvas to the final shape of the frame.
Steps to follow:
- Inventory of necessary materials
- Preparing the canvas (not mandatory, but recommended)
- Preparing the frame
- Attaching the frame
- Consolidation and finishing
Inventory of necessary materials
- 1 finished diamond embroidery canvas (obviously)
- 1 wooden frame suitable for the size of your canvas
- 1 marker or pen
- 1 pair of scissors
Preparing the canvas
This step is not essential, as fabric preparation prolongs its lifespan after mounting.
But it's not obligatory; you can frame your canvas directly when you're done.
Here are our tips for better canvas preparation in order of importance:
1. The most important and simplest thing to do: When the canvas is finished, take a special roller and roll it from one side to the other of the canvas. In fact, this will ensure that all the diamonds are properly adhered to the canvas. Free and very simple.
2. Just as simple as the previous step: place your canvas overnight under a pile of books or something heavy enough. Guaranteed results, your diamonds will all be in place. The downside is that you have to wait all night to see your magnificent work hanging on the wall.
3. Last thing, equally important: varnish your canvas when you're done. This step is reserved for experienced embroiderers, as it requires materials such as varnish or fixative spray.

Preparing the frame
From now on, we're approaching the end and we're getting down to business! You need to prepare the frame before attaching it to the embroidery, and for that, it's as simple as can be.
Take the 4 sides of your canvas and frame, and there you go!
Then, you'll come to place your embroidery on your work surface and lay the frame on top to trace the outline of the frame in order to remove the excess fabric.

Attaching the frame
And finally, the heart of the matter: placing the frame on the delicate parts of your beautiful canvas while trying not to damage the rhinestones.
So this time, you'll turn your embroidery so that the diamonds are facing the work surface, then align it well on the canvas (because yes, now your canvas is just the right size after trimming).
ATTENTION: The grooves must be on the inside, as there is double-sided tape under the wooden sides. You'll understand very quickly.

Tip
The trick here is to stick small pieces of tape as shown to lock the edge of the wood in place, so it doesn't move when you remove the double-sided tape.
This is what we explained earlier, you just need to lift the sides and remove the protective backing of the double-sided tape to securely attach your frame.

Folding
Now that your frame is attached to the canvas, you'll fold the sides of the frame to form a right angle.
Then, to start using the famous "U" clasp, simply push it as shown in the image to hold the frame in place.

Consolidation and finishing
The ultimate step: consolidation. Because yes, you'll tell me that what you did previously is great, but not very useful if your frame doesn't hold up and gets damaged at the slightest transport...
Rest assured, the Lartera team has thought of everything and provides you with 4 consolidation corners that will properly hold everything together with your frame.
A gentle hammer blow (you don't want to break everything) and there you go!
3. Glue it on an art canvas
Many of our talented artists use the canvas art technique to present their diamond artwork and look great!
This method uses a blank canvas from the craft store, glue, and a stapler to create a clean, neat design that really stands out from the wall.
1. Choose a canvas that's at least two centimeters smaller than your diamond art to stretch it around the canvas.
2. Cover the back of the canvas by hand, making sure to spread it evenly over the back of the canvas, except for the edges. Don't use quick-drying glue for this.
3. Work on a cutting mat. While the glue is still wet, press the white on the back of the diamond art canvas, making sure it's centered directly.
4. Leaving the work flat under the canvas, cut the edges of the canvas, leaving about two centimeters all around.
5. Add glue to the edges and press them onto the side of the canvas so that they come back into the pattern.
6. Let the glue dry completely before hanging it up.
4. Get it professionally framed
You've devoted a lot of work to your sparkling masterpiece, so professional framing is an excellent option.
In UK, experts, including those in your standard craft shop, know how to frame all kinds of memories and artwork in glass frames, regardless of their sizes and shapes.
They'll be able to create a spectacular piece that you'll be proud of.
5. Find it at the nearest store
Go on a treasure hunt to find beautiful, affordable second-hand frames that match the size of your diamond painting.
Diamond art news
6. Display your work with a poster frame
For a more professional approach, consider buying a standard poster frame from your local craft or hobby store.
It's perfect for framing XXL diamond paintings.
Make sure to turn the insert and place it behind the painting, then behind the frame so that the exposed edges are white. Put the back in place and you're good to go!
Find out how to store your finished diamond paintings.
7. Mount your diamond painting on a foam board
Mounting your final diamond embroidery can be a beautiful step and a rewarding experience. After all, you've spent a lot of time creating this beautiful piece of art, so why not frame it and show it off?
The problem is that they can sometimes be a bit pricey. Don't worry, we'll show you step by step how to make one using this type of material, which is a cheaper alternative to a standard frame. Here we go!
This technique involves measuring and cutting.
To create a beautiful, flat, borderless diamond painting, use a cutter to cut the board to the same size as the canvas.
Then, make sure it's centered and only the edges sag, simply glue the painting onto the foam.
Fold the edges over the back of the board and firmly glue them down, making sure the canvas adheres tightly to the board.
Here's what you'll need:
- Spray adhesive
- Scissors
- A ruler
- A ready-to-use diamond painting kit
- A foam board
- A utility knife
Why?
Foam board is a lightweight material made of rigid plastic foam covered with paper or plastic. It can be cut, glued, written, or drawn on depending on its use.
It's available in a wide variety of sizes and can be used for many different diamond painting projects.
Find out how to perfectly protect your diamond painting.
How to do it:
Follow all the steps carefully to frame your diamond paintings perfectly.
Complete your diamond embroidery
First and foremost, you need to finish your diamond painting that you want to frame. Make sure it's a painting you love!
Cut the foam
Measure and mark where you want to cut with a pencil. We advise against using markers or pens, as they can stain and the ink doesn't always dry immediately on foam board.
Cut the board with the utility knife. Try to do it as quickly, cleanly, and safely as possible without straying too far from the starting lines.
Attach the canvas to the foam board
Next, glue the board. It's recommended to use spray adhesive.
Spray the adhesive onto the board and wait about 30 seconds. Center the board on the canvas. Once you're satisfied, you can gently smooth the board onto the canvas.
Turn the board over and start smoothing the canvas by hand, pressing down and away from the center of the foam board.
Continue spraying the short ends of the foam board and along the long side.
The finished project
Congratulations, you've just framed your artwork! Now it's time to hang it up and let that diamond painting shine!
Being very lightweight, hanging it shouldn't be a big challenge for you.
What type of diamond painting should you use?
Now that you know how to display your diamond embroidery, let's look at the possibilities available to you to create the artwork itself.
Before considering image ideas, you need to know that there are several types of diamonds. You must choose between round or square diamonds.
For your information, round rhinestones are easier to place. Those are the ones we recommend if you're a beginner.
Diamond beads can also be:
- pearlescent
- opaque
- glittering
If you're getting into DIY, you can also choose your favorite color.
As for the image, you can choose whatever you want. So, you can create your painting by choosing your image.
Simply upload your image to the Lartera diamond canvas site during its creation.
You can also choose from royalty-free images if you find that your photos are of poor quality.
Also note that the size and orientation (portrait or landscape) can be adjusted to your needs.